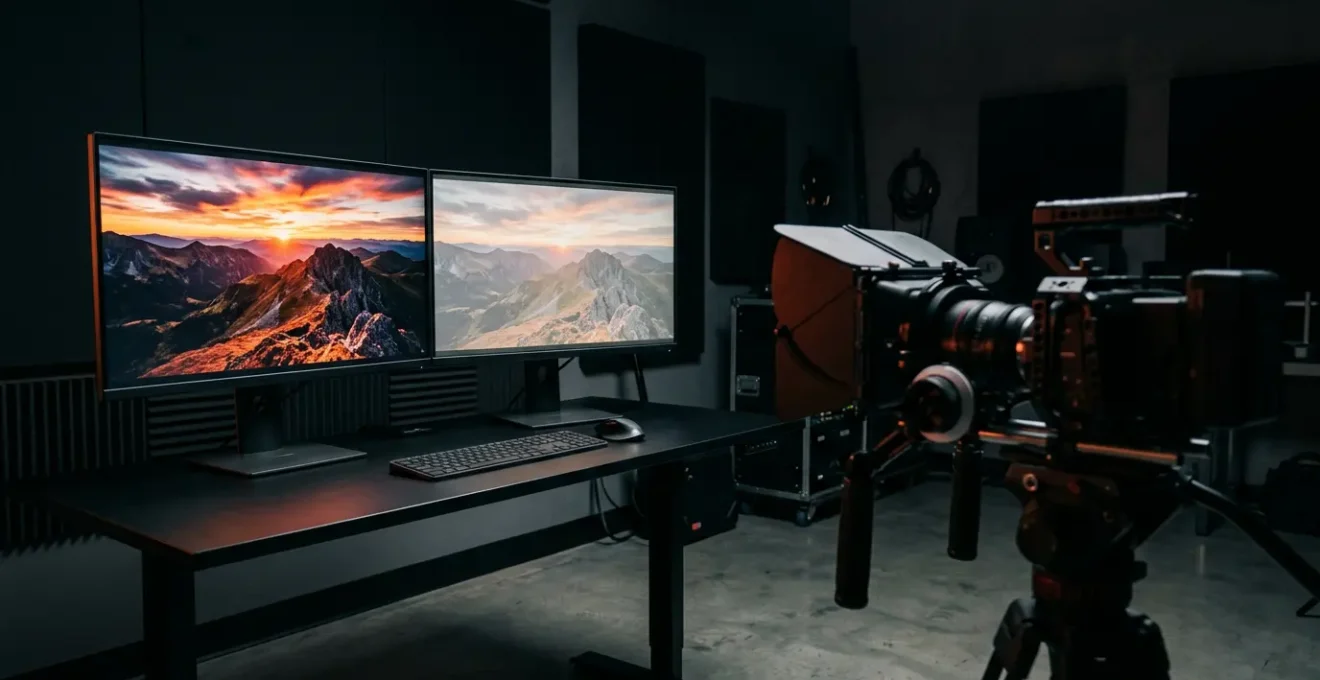
Creating a great SDR version from an HDR master isn’t a conversion; it’s a controlled extraction of luminance and color data.
- Success depends on managing exposure on set to protect mid-tones, not just highlights.
- Accurate metadata (PQ/HLG) and color space tagging are non-negotiable instructions for playback devices.
Recommendation: Adopt a scene-referred workflow and use waveform monitors to manage your luminance as data from capture to final export.
For any corporate video producer, the request is becoming common: « Make it look stunning on my new OLED TV, but don’t forget it also needs to look good on the ten-year-old laptops in our conference room. » This is the core challenge of the HDR to SDR workflow. The temptation is to treat it as a simple post-production fix, slapping on a conversion LUT and hoping for the best. Many guides will tell you to « expose for the highlights » or simply pick a setting and export, but this often leads to the dreaded washed-out, flat, or clipped SDR version that undermines all your hard work.
The problem is that this approach sees the SDR version as a compromised afterthought. What if we reframe the entire process? The key isn’t finding a magic « convert » button, but in managing your visual information as a unified dataset from the moment you hit record. The HDR master is your complete source of truth, rich with luminance and color data. The SDR version, then, is not a downgrade but a controlled extraction—a deliberate and precise mapping of that rich data into a smaller container. This requires a shift in mindset from simple conversion to disciplined data management.
This guide will walk you through that professional workflow. We will move beyond simplistic advice to explore the underlying principles that govern a successful HDR-to-SDR process. We will cover why HDR’s impact is more than just brightness, how to monitor your signal accurately on set, the critical exposure decisions that are irreversible, and finally, how to export master files that satisfy everyone from YouTube’s algorithms to stringent UK broadcast quality control.
To navigate this technical landscape effectively, this article breaks down the essential components of a future-proof HDR workflow. The following summary outlines the key stages we will cover, from foundational concepts to final delivery specifications.
Summary: How to Shoot for HDR Delivery Without Ruining the SDR Version?
- Why Does HDR Matter More Than 4K for Perceived Image Quality?
- How to Monitor HDR on Set Without Expensive Reference Displays?
- PQ or HLG: Which Curve is Safer for Live Broadcast Workflows?
- The Exposure Mistake That Is Unrecoverable in HDR Grading
- When Should a UK Brand Switch to HDR as Their Default Standard?
- The Export Error That Makes Your Video Look Washed Out on QuickTime
- When to Upload 4K to YouTube to Ensure High Quality at Launch?
- How to Export Master Files for UK TV Without Failing Quality Control?
Why Does HDR Matter More Than 4K for Perceived Image Quality?
While the marketing push for 4K resolution has been immense, technical directors understand that High Dynamic Range (HDR) offers a more significant leap in perceived image quality. Resolution adds more pixels, but HDR fundamentally changes what those pixels can display. The primary benefit isn’t just making highlights brighter; it’s the massive expansion of color volume—the combination of brightness and color gamut. This is why the adoption of HDR is a critical market trend; recent industry data shows that 71% of UHD television units shipped globally in 2024 featured HDR capabilities, indicating a clear consumer expectation.
Standard Dynamic Range (SDR) video is typically mastered for a peak brightness of 100 nits and uses the Rec.709 color space. HDR shatters these limitations, capable of displaying specular highlights at 1,000, 4,000, or even 10,000 nits, while simultaneously retaining deep, detailed blacks. More importantly, it utilizes the much larger Rec.2020 color gamut. Research shows that while both are narrower than what the human eye can perceive, Rec.2020 can display over 100 percent more color than SDR’s Rec.709. This results in richer, more lifelike images with vibrant reds, deep greens, and subtle tonal gradations that are simply impossible in SDR.
For a viewer, this translates to a more immersive and realistic experience. A sunset in HDR isn’t just a bright orange blob; it’s a detailed gradient of fiery reds, soft yellows, and deep purples. This is why an HDR image often feels more « real » or « 3D » than its SDR counterpart, even at the same resolution. It’s a move from representing an image to truly recreating the light and color of a scene.
How to Monitor HDR on Set Without Expensive Reference Displays?
One of the biggest hurdles to adopting an HDR workflow is the perceived cost of monitoring. While a true Grade-1 reference monitor costing tens of thousands of dollars is the gold standard, it’s not a practical reality for most corporate productions. Fortunately, you can establish a reliable on-set monitoring workflow using more accessible tools. The key is to shift your reliance from subjective visual assessment to objective data analysis using waveform monitors and a disciplined process. Your goal is to confirm that the luminance and chrominance data you are capturing is clean and within the desired range.
This involves configuring your software and hardware to correctly interpret the 10-bit Log signal from your camera. Instead of just looking at the picture, you’ll be « reading » it. A waveform monitor set to display nit values (for ST.2084/PQ or HLG) becomes your most trusted tool. It shows you the precise luminance values of your scene, from the deepest shadows to the brightest highlights, ensuring you aren’t clipping valuable information. This is far more reliable than trusting your eyes on a non-calibrated display, which can be misleading due to ambient light or incorrect settings.
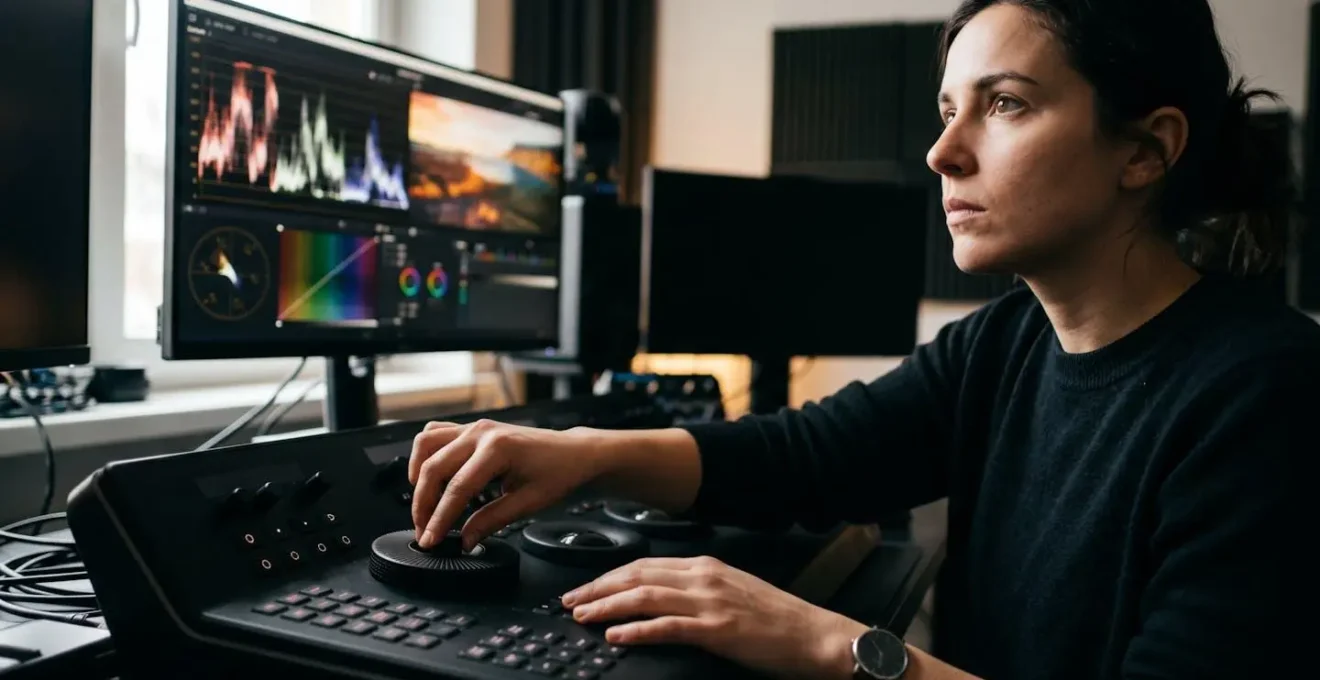
As the image above illustrates, a professional workflow relies on scopes to validate what the eye sees. To create a robust SDR version, it’s also crucial to monitor a real-time conversion. Applying a conservative Rec.709 conversion LUT to a secondary output allows you to preview the SDR « extraction » live. This helps you spot potential issues, like crushed blacks or blown-out skin tones, that might occur in the down-conversion, allowing you to adjust your exposure on the spot. This dual-monitoring approach—one for HDR data, one for SDR preview—is the foundation of a confident shoot.
Your On-Set HDR Monitoring Action Plan
- Use 10-bit Precision: In your editing or monitoring software, ensure viewers and scopes are set to 10-bit precision to accurately process the camera’s full bit depth.
- Match Frame Rates: Set the timeline or project frame rate to exactly match your source video files (e.g., 24, 29.97, or 60 fps) to prevent playback or conversion errors.
- Use Reliable Previewers: For on-set laptop monitoring, rely on tools known for accurate HDR display like QuickTime Player or Safari; avoid players like VLC which can misinterpret color metadata.
- Configure Waveforms for HDR: Set your waveform monitor to the correct HDR standard (ST.2084/PQ or HLG) and ensure its scale is set to display nit values, allowing you to objectively measure luminance.
- Apply a Real-Time SDR LUT: Alongside your main Log feed, apply a basic, conservative Rec.709 conversion LUT on a separate monitor or output to serve as a live reference for the SDR version.
PQ or HLG: Which Curve is Safer for Live Broadcast Workflows?
When choosing an HDR format, the two main contenders are Perceptual Quantizer (PQ) and Hybrid Log-Gamma (HLG). While both deliver HDR, they are designed with different philosophies, making one inherently safer for workflows with limited control, such as live broadcasting. PQ (standardized as ST.2084) is an absolute system. It defines luminance levels in explicit nit values, designed for a controlled mastering and viewing environment. It produces a stunning result when the display it’s played on can match the mastering display’s capabilities. However, it requires complex metadata to be displayed correctly on a range of consumer devices.
This metadata dependency is PQ’s greatest strength and its biggest risk. As the YouTube Engineering team notes, this metadata is critical for predictable playback. Their documentation clarifies:
HDR videos using PQ signaling should also contain information about the display it was mastered on (SMPTE ST 2086 mastering metadata). It should also have details about the brightness (CEA 861-3 MaxFALL and MaxCLL). If it’s missing, we use the values for the Sony BVM-X300 mastering display.
– YouTube Engineering Team, YouTube HDR Upload Documentation
HLG, on the other hand, was jointly developed by the BBC and NHK specifically for broadcast. It’s a relative system designed for backward compatibility. The « Hybrid » in its name is the key: the lower part of the HLG signal curve carries a standard gamma signal that SDR televisions can interpret correctly, appearing as a decent (if slightly low-contrast) SDR image. The upper part of the curve carries the additional highlight information for HDR-capable displays. This means a single HLG broadcast feed can be sent to both SDR and HDR televisions without requiring separate versions or complex metadata handshakes, making it far more robust for live environments where you can’t control the end-user’s display.
For a corporate video producer whose content might be streamed live or needs to work reliably across an unpredictable range of displays, HLG is the safer choice. It prioritizes compatibility and predictability over the absolute perfection of a PQ master. It removes the risk of a catastrophic failure due to missing or misinterpreted metadata, which is a common issue in complex delivery chains.
The Exposure Mistake That Is Unrecoverable in HDR Grading
In SDR, cinematographers often « protect the highlights » by slightly underexposing to retain detail in the brightest parts of the image, knowing they can lift the shadows in post. Applying this same logic to HDR can be disastrous. The single most common and unrecoverable mistake in HDR acquisition is clipping the highlights. When you are capturing a 10-bit or 12-bit Log signal, you have an immense amount of information in your highlights. Once that data is clipped—recorded as pure white with no detail—it is gone forever. No amount of grading can recover detail that was never recorded.
This is where the concept of « luminance as data » is crucial. Your camera’s sensor is capturing a vast range of light values. When you overexpose to the point of clipping, you are essentially telling the sensor to discard all the data above a certain threshold. In HDR, those values are not just « bright »; they contain color and texture information for specular highlights like the glint of metal, the sun on water, or a bare lightbulb. Losing them turns a detailed, realistic highlight into a flat, artificial-looking white patch, which is even more jarring on an HDR display.
The correct approach is to expose so that your brightest, most important details—like skin tones or a white shirt—fall within the proper range, while ensuring your absolute brightest speculars are just below the clipping point on your waveform monitor. This often means using your camera’s « false color » exposure tools to precisely place skin tones in their target zone (typically around 50-70 IRE on a LogC curve) and letting the highlights fall where they may, as long as they don’t clip. This protects the entire data set for the grade.
The « Crank and Burn » YouTube Mistake
A common error seen in online tutorials involves a misunderstanding of HDR. Some creators simply take an 8-bit SDR file, apply a harsh S-curve to boost contrast, crank up the saturation, and then export it with HDR metadata. This doesn’t create true HDR; it creates a garish, over-saturated, and often clipped SDR video masquerading as HDR. As one comprehensive guide notes, YouTube’s system will accept such files, but the result is a disservice to the format. This approach destroys nuance and detail, creating a video that is loud but lacks the subtlety and richness that defines quality HDR. Don’t be that guy.
When Should a UK Brand Switch to HDR as Their Default Standard?
For a UK-based brand, the decision to switch to an HDR-first production workflow is a strategic one, balancing future-proofing against immediate costs and audience relevance. It’s no longer a question of *if*, but *when*. The transition should be driven by a clear understanding of the brand’s audience, content strategy, and competitive landscape. The primary driver is audience device capability. With the proliferation of HDR-capable smartphones, tablets, and 4K televisions, a significant portion of the audience is already equipped to see the difference.
The shift is also reflected in consumption habits. Data on streaming preferences is a strong indicator of audience expectation; consumer behavior research indicates that 62% of users preferred HDR-supported streaming apps in 2024. For a premium brand, delivering a sub-par visual experience when competitors are offering richer content can negatively impact brand perception. If a brand’s primary competitors are already delivering in HDR on platforms like YouTube or Vimeo, failing to do so can make the brand’s content look dated and less premium by comparison.
However, a full, immediate switch may not be practical. A phased approach is often the most sensible strategy. This involves identifying the most suitable content for the HDR treatment. Key considerations for a UK brand include:
- Content Shelf-Life: Prioritize HDR for « hero » or « evergreen » content that will live on for 3+ years. This ensures the investment pays off as more of the audience upgrades their devices.
- Audience Demographics: Analyze if the target audience (e.g., early adopters, high-income consumers) is likely to own HDR-capable devices. A brand targeting tech enthusiasts should switch sooner than one targeting late adopters.
- Brand Positioning: For brands built on quality, innovation, or a premium experience (e.g., luxury automotive, high-end travel, tech), HDR is a natural extension of the brand promise.
- Initial Testing: Start by producing one or two high-impact video pieces in a full HDR workflow. Track engagement metrics and gather feedback to measure the ROI before committing to a full-scale switch.
This strategic evaluation moves the conversation from a purely technical one to a business decision rooted in brand value and audience experience.
The Export Error That Makes Your Video Look Washed Out on QuickTime
One of the most frustrating experiences for a video producer is exporting a beautifully graded video, only to have it look washed out and desaturated when opened in Apple’s QuickTime Player. This is the infamous « gamma shift » issue, and it stems from a mismatch in how different applications interpret color metadata, specifically the NCLC (Non-constant Luminance Color) tags that define gamma and color primaries. QuickTime is notoriously picky about these tags and often defaults to a different gamma interpretation (like Gamma 1.96) than the broadcast standard (Gamma 2.4) or web standard (sRGB) you graded for, resulting in lifted blacks and a low-contrast look.
This problem is especially prevalent when creating an SDR deliverable from an HDR master. The process involves multiple color space and gamma transformations, increasing the risk of metadata being misinterpreted. The solution is not to « fix » the grade for QuickTime, as that will make it look wrong everywhere else. The solution is to embed the correct metadata that forces QuickTime to display the file as intended. For an SDR (Rec.709) deliverable, you need to ensure the file is explicitly tagged with the correct color primaries (Rec. 709), transfer function (Gamma 2.4 or sRGB), and matrix coefficients.
When creating the SDR version from your HDR grade, a precise workflow is required. According to technical documentation, the correct process involves setting your mastering display to Rec. 709 and Gamma 2.4. You then apply a LUT that converts your HDR source (e.g., Rec. 2020 ST.2084) to this SDR target. After this technical conversion, you can perform your creative grading to finalize the look. For platforms like YouTube that perform their own SDR conversion, providing them with a « hint » is powerful. The recommendation is to export the conversion LUT you used and embed it into the HDR file’s metadata, giving the platform’s converter a precise road map for your intended SDR look.
When to Upload 4K to YouTube to Ensure High Quality at Launch?
Uploading an HDR video to YouTube is just the first step; ensuring it looks great at launch requires a strategic understanding of the platform’s processing pipeline. When you upload a video, YouTube creates multiple versions at different resolutions and codecs to serve to different users based on their device and bandwidth. The highest quality versions, which use efficient codecs like VP9 and AV1, take the longest to process. If you publish your video immediately after uploading, many viewers will initially only have access to the lower-quality AVC1 codec, which can result in noticeable compression artifacts and banding, especially in HDR content.
To guarantee the best possible quality from the moment your video goes live, you need to give YouTube time to complete all its processing. The key is to upload your video well in advance and keep it set to ‘Private’ or ‘Unlisted’. A window of 24 to 48 hours is a safe bet. This allows the platform’s servers to finish generating all the high-quality streams, including the crucial HDR versions. A pro-tip for all content, even if your final master is 1080p, is to export and upload it in 4K (3840×2160). This acts as a trigger, pushing YouTube to prioritize encoding your video with the superior VP9 or AV1 codecs, which offer better quality at similar bitrates.
You can verify the processing status yourself. On the video’s watch page, right-click and select « Stats for nerds. » Look for the ‘Codecs’ line. If it shows ‘vp09’ or ‘av01’, the high-quality version is ready. If it only shows ‘avc1’, processing is still in progress or you didn’t trigger the high-quality encode. This patient, strategic approach to uploading is increasingly vital, as industry surveys reveal that 68% of cinematographers listed HDR as a critical requirement in 2024, meaning clients and peers expect the highest fidelity on platforms like YouTube. Rushing the launch and serving a low-quality stream undermines that expectation.
Key takeaways
- The primary advantage of HDR is its expanded color volume (Rec. 2020), which offers a more significant perceptual quality jump than resolution alone.
- Proper exposure in HDR is not about protecting highlights at all costs, but about managing the entire luminance range as a dataset and avoiding irreversible clipping.
- Metadata integrity is paramount. PQ and HLG formats rely on correct tagging to ensure predictable playback, with HLG offering a safer, backward-compatible option for broadcast.
How to Export Master Files for UK TV Without Failing Quality Control?
Delivering a master file for UK broadcast television involves navigating a minefield of strict technical specifications. Failing an automated Quality Control (QC) check results in rejection, delays, and added costs. The key to success is understanding the distinction between an Archive Master and a Delivery Master. They serve different purposes and have vastly different specifications. The Archive Master is your future-proof, highest-quality file, while the Delivery Master is a constrained version tailored precisely to the broadcaster’s requirements.
Your Archive Master should be created with future re-grading and repurposing in mind. It should be in a high-bit-depth format like ProRes 4444 XQ or OpenEXR and, crucially, remain in a scene-referred color space (i.e., the camera’s native Log format). This preserves the maximum amount of original camera data. The Delivery Master, by contrast, is a display-referred product. For UK broadcast, this typically means a file conforming to the AS-11 standard, using a codec like XDCAM HD422, in the Rec.709 color space, and at a 10-bit depth. Attempting to use your archive master for delivery is a guaranteed QC failure.
The table below outlines the core differences between these two essential master files.
| Specification | Archive Master | Delivery Master |
|---|---|---|
| Format | ProRes 4444 XQ/OpenEXR | XDCAM/AS-11 |
| Color Space | Scene-referred (Log) | Display-referred (Rec.709) |
| Bit Depth | 12-16 bit | 10 bit |
| Purpose | Future re-grading | Broadcast specs |
Beyond format, UK broadcasters have stringent rules for audio loudness (typically -23 LUFS integrated), peak video levels (no illegal colors or luminance), and photosensitive epilepsy (PSE) testing, which checks for harmful flashing or patterns. Every aspect, down to the file naming convention and track layout, is scrutinized. Using a professional QC tool like Interra Baton or even open-source command-line tools like FFprobe to analyze your file before submission is not an optional step; it’s essential for a successful delivery.
To fully implement this future-proof workflow, the next logical step is to audit your current production pipeline and identify where these principles can be integrated, from pre-production planning to final export settings.
Frequently Asked Questions on How to Shoot for HDR Delivery Without Ruining the SDR Version?
What causes PSE (Photosensitive Epilepsy) test failures?
PSE test failures in broadcast QC are typically caused by rapid changes in brightness or color that could trigger seizures in susceptible individuals. The most common culprits are fast strobes, certain repeating high-contrast patterns, and rapid full-screen luminance changes that exceed a threshold of 3 flashes per second.
Which metadata fields are mandatory for UK delivery?
For UK broadcast delivery, several metadata fields are critical and non-negotiable. These include a strict file naming convention specified by the broadcaster, precise audio loudness levels (typically -23 LUFS integrated as per EBU R128), legal video peak levels (ensuring no illegal luminance or chrominance values), and a proper audio channel layout as defined in the technical specification sheet.
How to verify compliance before submission?
To verify that your master file complies with broadcast standards before submission, you can use a range of tools. For a quick check, command-line utilities like FFprobe or GUI-based applications like MediaInfo can scan the file and report on its technical metadata. For comprehensive, automated QC that mirrors what broadcasters use, professional software like Interra Baton or Telestream Vidchecker is the industry standard.