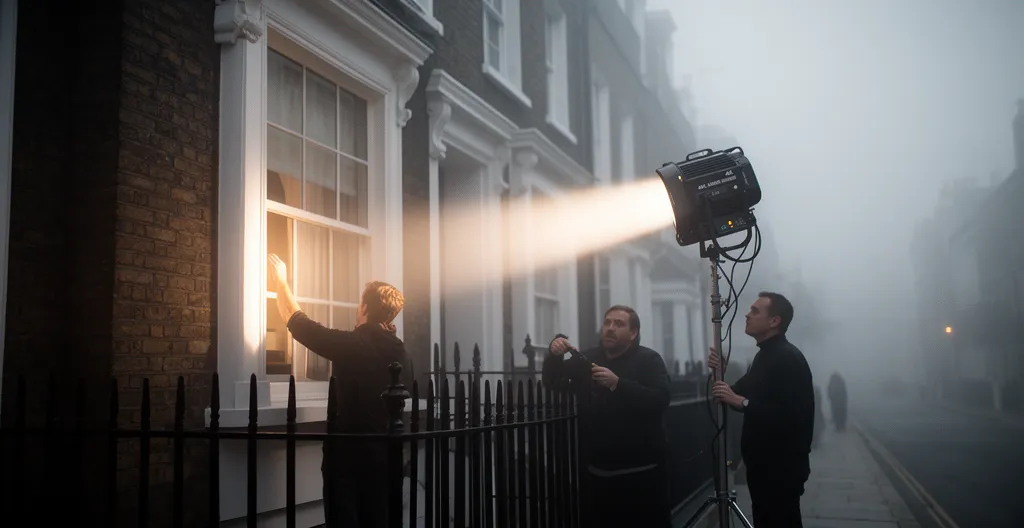
The secret to faking sunlight in the UK isn’t bigger lights; it’s total system control, from the generator to the gel, to master the chaos of British weather.
- An HMI’s raw power is useless without stable, clean electricity, making a reliable inverter generator non-negotiable.
- Safety protocols for HMI bulbs aren’t just for show; they prevent explosions and ensure colour consistency.
- Mastering flicker and colour shifts (the « green ghost ») is what separates the pros from the amateurs.
Recommendation: Stop fighting the weather and start building a bulletproof lighting system. Your mastery of the entire HMI chain is the only continuity you can rely on.
Every gaffer in the UK knows the feeling. You’ve got the perfect shot lined up, the art department has worked miracles, the actors are hitting their marks, and then it happens. The glorious sun that blessed your wide shot vanishes, replaced by that flat, featureless grey that only Britain can produce. The continuity is shot. The director is looking at you. Now what?
The rookie mistake is to think you can simply fight the gloom with brute force, throwing more and more wattage at the problem. But a veteran knows that simulating the sun, especially the hard, crisp light of a clear day, is less about power and more about control. It’s an art form built on a deep understanding of a volatile and powerful technology: the Hydrargyrum medium-arc iodide, or HMI. It’s about mastering a complete system, from the power source to the final colour temperature, to create an unwavering sun on the most indecisive of London days.
Forget the simple platitudes. The real key to consistency isn’t just a big lamp; it’s a deep-seated respect for the entire lighting chain. It’s about anticipating the problems before they happen—the power sags, the flicker, the dreaded green shift in an ageing bulb. This isn’t just about lighting a scene; it’s about controlling chaos with practiced, hard-won expertise.
This guide walks you through that chain of command. We’ll cover the non-negotiable foundations of power, the critical safety that keeps your crew and kit in one piece, and the nuanced decisions that separate a convincing sun from a harsh, artificial glare. We’ll tame the gremlins of the HMI system so you can deliver, no matter what the clouds are doing.
This article breaks down the essential knowledge a gaffer needs to command HMI lighting with confidence. The following sections provide a complete roadmap, from the fundamental power requirements to the subtle art of colour correction and light shaping.
Summary: Mastering HMI Lighting for the Unpredictable UK Shoot
- Why You Need a Generator When Using 4K HMI Lights on Location?
- How to Handle HMI Bulbs Safely to Prevent Explosions?
- HMI or High-Output LED: Which Punches Through a Window Better?
- The Shutter Angle Mistake That Causes HMI Lights to Flicker on Camera
- How to Correct Green Spikes in HMI Lights as They Age?
- How to Use Large Sensors to Shoot in Natural Light Without Grain?
- Panel Lights or COB LEDs: Which is Better for Dramatic Interviews?
- How to Light a Green Screen Evenly Using Bi-Colour LED Panels?
Why You Need a Generator When Using 4K HMI Lights on Location?
First rule of location lighting in the UK: never trust the wall. Domestic power is unpredictable, unreliable, and simply not built for the demands of professional film equipment. A 4K HMI isn’t just a big light; it’s a power-hungry beast, especially on start-up. The initial HMI strike surge can be massive, far exceeding the lamp’s running wattage. Trying to pull that from a domestic ring main is asking for a tripped breaker at the worst possible moment.
This is why a dedicated generator is not a luxury; it’s the absolute foundation of your lighting department. But not just any generator will do. HMIs are sensitive to power fluctuations. You need an inverter generator, which provides a clean, stable sine wave with less than 2.5% voltage distortion. A standard construction site generator can cause flicker and damage expensive ballasts.
Power management is a constant calculation. You must apply the 80% safety rule, never loading a circuit to more than 80% of the breaker’s rating. When running multiple heavy-duty lights from a single large generator, like a Honda 6500, you have to ensure a balanced load across the phases. If your load is uneven, you may even need a ‘ghost load’—a dummy device like a small space heater—on a lighter phase to balance things out and keep the generator running smoothly. Power isn’t just about wattage; it’s about clean, balanced, and utterly reliable delivery.
How to Handle HMI Bulbs Safely to Prevent Explosions?
An HMI bulb is not a household lightbulb. It’s a quartz-glass envelope containing mercury vapour and metal halides under high pressure, burning at extreme temperatures. Think of it as a controlled explosion in a bottle. Disrespect it, and it will remind you what it is, forcefully. The number one rule is to never move an HMI fixture while it is powered on. The arc and the bulb itself are incredibly brittle when hot, and the slightest jolt can cause it to shatter, sending hot quartz glass flying.
This volatility demands a strict cool-down protocol. Once an HMI is switched off, it’s not ready to be moved. As a rule, HMI bulbs require turning off, waiting five minutes for cool down, moving the fixture, then striking it again and waiting another few minutes for it to reach correct colour temperature and brightness. This isn’t just a safety measure; it’s essential for the longevity of the bulb and for colour consistency.
Handling the bulbs themselves requires care. Always wear protective gloves. The oils from your skin can create hot spots on the quartz envelope, leading to stress fractures and premature failure. Before installing a bulb, give it a quick inspection. Look for any signs of damage: warped electrodes, discoloration, or a swollen or bubbled appearance in the glass. Clear communication is paramount. The gaffer or best boy must always announce loudly « Striking HMI! » before turning a light on and « Saving! » before turning it off, ensuring the entire crew is aware of the high-voltage, high-risk equipment in operation.
HMI or High-Output LED: Which Punches Through a Window Better?
The debate between HMI and LED rages on, but when the job is to blast a convincing shaft of ‘sunlight’ through a window to overpower a grey exterior, there is still no contest. The answer is HMI. The reason lies not just in raw output, but in the nature of the light source itself. An HMI is a true single-point source, creating a beam of parallel rays that mimics the distant sun. This results in hard, crisp shadows with a long throw, which is exactly what our brains register as sunlight.
High-output LEDs, even powerful ones, are typically an array of multiple smaller diodes. While they can be incredibly bright, they produce a softer, more divergent light. It’s more of a ‘paint’ than a ‘punch’. The shadows are softer, and the illusion of a single, distant light source is less convincing. When you need that hard-edged shadow from a window frame cutting across a floor, HMI is the tool for the job.
This table lays out the stark difference when comparing workhorse models often found on set.
| Feature | ARRI M18 HMI | Aputure 300D LED |
|---|---|---|
| Output at 3ft | 1,000,000 lux (zoomed) | 80,000 lux (full spot) |
| Power Draw | 1800 watts | 300 watts |
| Color Temperature | 5600K stable | 5600K (may shift at full power) |
| Single Point Source | Yes – creates hard shadows | No – multiple LEDs create softer light |
| Window Punch | Excellent – parallel rays | Good – but less convincing sun effect |
The visual evidence is just as clear. The HMI’s ability to create a defined, hard-edged beam is what sells the ‘sunlight’ effect, whereas the LED provides a softer, more ambient fill.
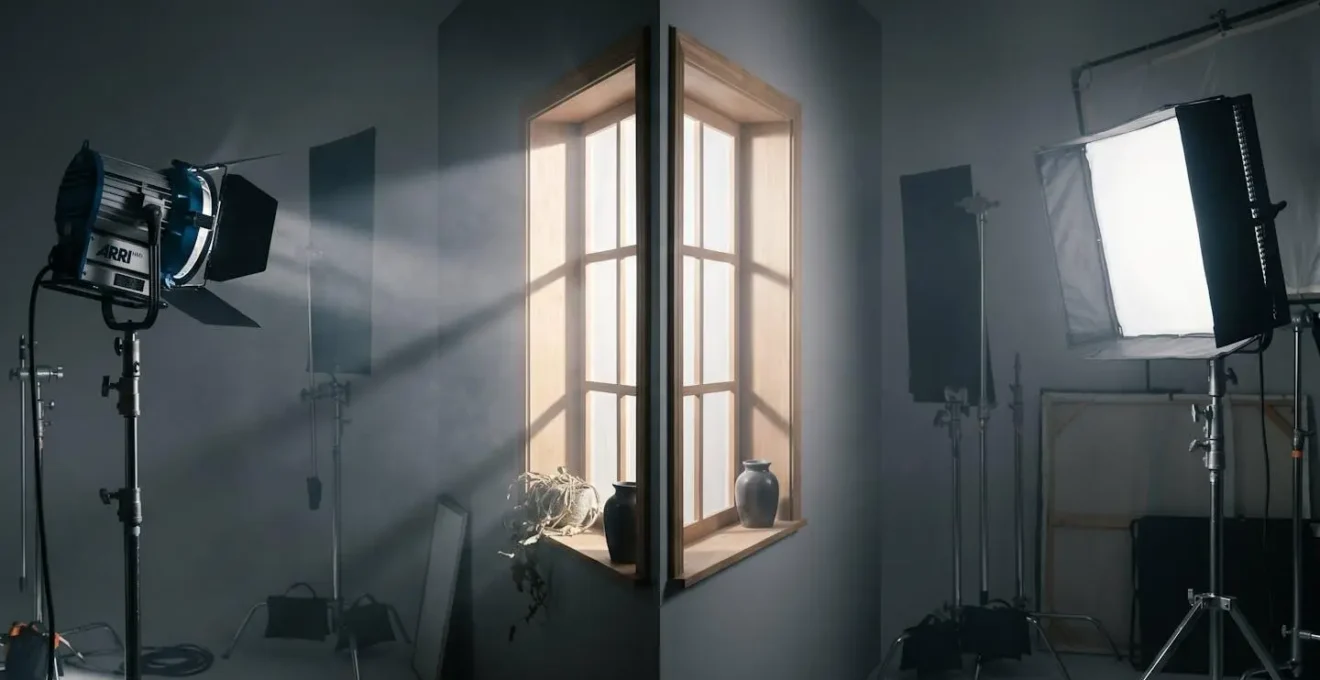
While LEDs have revolutionised lighting for their efficiency, controllability, and safety, they have not yet managed to replicate that single-point-source magic. For creating a hard, directional sun effect that can cut through a gloomy day, the HMI remains the undisputed champion.
The Shutter Angle Mistake That Causes HMI Lights to Flicker on Camera
You’ve set your 4K HMI, the scene looks perfect to the eye, but on the monitor, there’s a subtle, sickening pulse. You’ve been hit by flicker, the unseen enemy of the HMI. This phenomenon occurs when the camera’s shutter speed falls out of sync with the 50Hz AC power cycle common in the UK and Europe. The HMI arc is not actually a continuous light; it’s extinguishing and re-igniting 100 times per second. If your camera’s shutter captures the arc at different points in its brightness cycle, you get flicker.
The problem is most pronounced with older, magnetic ballasts. Modern electronic « flicker-free » ballasts are far more forgiving, operating at a much higher frequency, but you can’t always guarantee you’ll have them on every job. Knowing the ‘safe’ shutter angles and frame rates is a gaffer’s core knowledge.
For 50Hz power, the rule is simple: your frame rate and shutter speed must be in sync with the power cycle. In regions with 50Hz power, to avoid flicker with magnetic ballasts, you must use frame rates that can be divided into 100 and result in a whole number. For the standard 24fps, the ‘safe’ shutter angle is not 180° (which is safe in 60Hz America), but 172.8°. At 25fps, 180° is safe. Shooting at high speed is a minefield; you must use a flicker-free electronic ballast. There’s no substitute for testing. Always check your setup on a waveform monitor before rolling, and if possible, shoot a high-speed test clip to make any latent flicker immediately obvious.
How to Correct Green Spikes in HMI Lights as They Age?
One of the quirks of HMI technology is its tendency to shift colour over its lifespan. This isn’t a subtle change; it’s a noticeable and often problematic push towards green. This is what sparks call ‘The Green Ghost,’ and it can ruin skin tones and create a colour-matching nightmare in post-production. The phenomenon is rooted in the chemistry of the bulb itself.
A brand new HMI bulb doesn’t start at its designated 5600K daylight temperature. In fact, a new bulb can output at a colour temperature closer to 15,000K during its first few hours of life—an intensely blue light. As it burns in, it settles down towards its target temperature. However, as the bulb continues to age and the metal halide salts inside degrade, its colour output starts to drift, typically introducing a significant green or magenta spike. A good gaffer will always have a spectrometer on hand to check this.
Correcting this is a classic on-set skill. The tool for the job is a set of colour-correcting gels. To fight a green spike, you use a minus-green (magenta) gel, typically in strengths like 1/8, 1/4, or 1/2, depending on the severity of the colour cast. A seasoned gaffer’s trick is to talk to the rental house before a shoot. You can request HMI bulbs that all have similar burn hours. This ensures that all your ‘sun’ sources will have a consistent colour temperature from the start, minimising the amount of on-set correction required. It’s another example of how foresight and preparation are more valuable than reactive problem-solving.
How to Use Large Sensors to Shoot in Natural Light Without Grain?
Sometimes the best way to simulate the sun on a grey London day is to not simulate it at all. A veteran gaffer knows that there are moments when the right call is a strategic retreat: embrace the gloom. Instead of fighting the low, soft light, you can work with it, and modern large-sensor cinema cameras are the key. Their incredible low-light sensitivity allows you to capture beautiful, moody images without being plagued by ugly digital noise or grain.
The trick is to lean into the technology. Using fast prime lenses (f/1.4 or f/1.8) lets you gather as much of the available ambient light as possible. Many modern cameras also feature ‘Dual Native ISO’. This isn’t just marketing speak; it means the camera has two separate circuits for different sensitivity ranges. Switching to the high native ISO circuit allows you to shoot at, say, 3200 ISO with a far cleaner image than just digitally pushing a lower ISO. It’s like having a second, more sensitive film stock built into your camera.
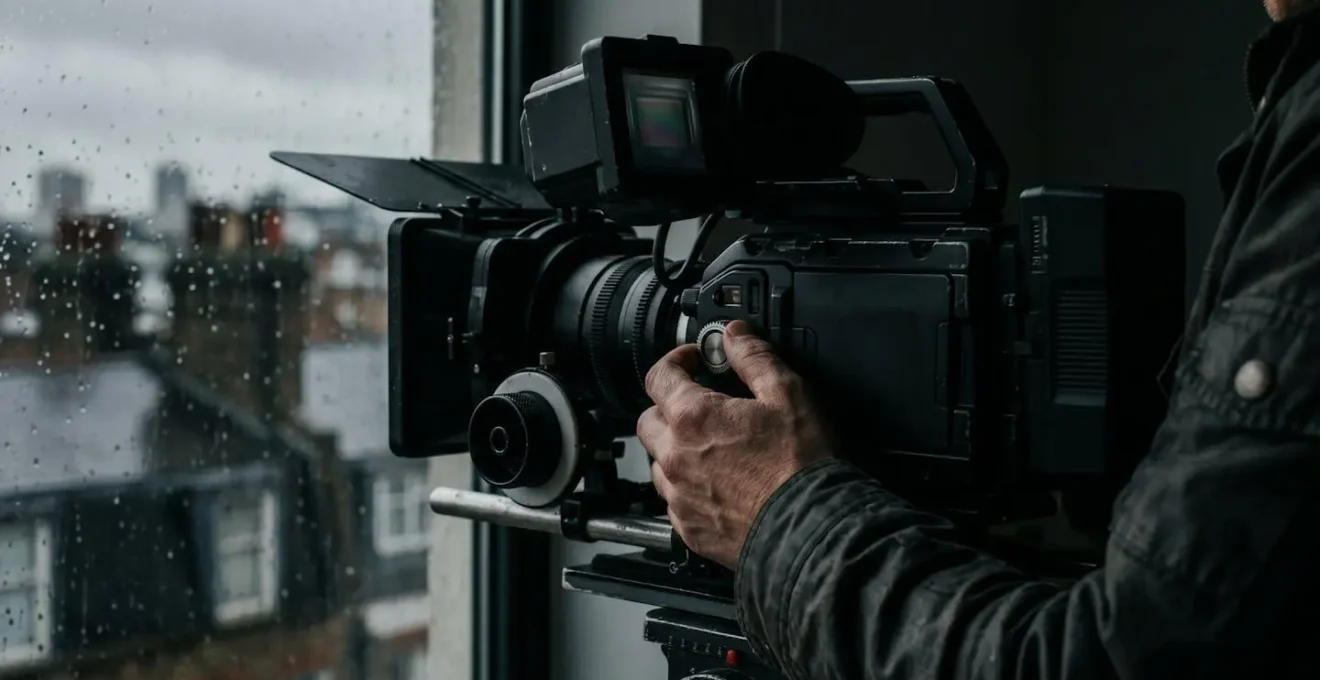
Another professional technique is ‘Exposing To The Right’ (ETTR). This means you deliberately overexpose the image slightly in-camera, without clipping the highlights. This pushes the shadow detail further away from the camera’s noise floor. In post-production, the image is brought back down to the correct exposure, resulting in significantly cleaner, richer shadows than if you had exposed ‘correctly’ on set. It’s about knowing your tools, both the lights and the camera, and making a creative decision to work with the environment, not against it.
Panel Lights or COB LEDs: Which is Better for Dramatic Interviews?
While an HMI is king for creating a hard sun source, it’s often the wrong tool for interior work, especially interviews. Here, the choice is usually between two types of LED: soft panels and Chip-on-Board (COB) fixtures. The decision between them fundamentally alters the mood of the shot. For a dramatic, cinematic interview, a COB LED is almost always the superior choice. This is because, like an HMI, a COB is a small, powerful single-point source, capable of creating the hard, directional light needed for drama.
An LED panel, by contrast, is an array of many small diodes behind a diffusion layer. It creates a beautiful, soft, wrapping light that is very flattering. This makes it ideal for corporate or beauty work where the goal is to make the subject look their best. But for drama, you want control, contrast, and shadow. A COB LED, used with a fresnel lens or a parabolic modifier, allows you to create sharp, defined shadows, model the subject’s face with high contrast, and create a crisp, singular catchlight in their eye. This helps to isolate the subject from the background and focus the viewer’s attention.
This comparison shows how the physical nature of the light source dictates its best use case.
| Aspect | Panel LED | COB LED |
|---|---|---|
| Light Quality | Soft, wrapping light | Hard, directional light |
| Eye Reflection | Large, soft catchlight | Small, crisp highlight |
| Shadow Control | Gentle, graduated shadows | Sharp, dramatic shadows |
| Background Separation | Less defined | Strong isolation possible |
| Best For | Beauty/corporate interviews | Dramatic/cinematic interviews |
A COB LED can be used to create specific, motivated effects, like a ‘shaft of sunlight’ supposedly coming through a window, or a harsh top-light for an interrogation scene. Its ability to be precisely shaped and controlled is what makes it the go-to tool for creating atmosphere and drama in an interview setting.
Key Takeaways
- System Integrity is Everything: Your light is only as good as your power source. An inverter generator is a non-negotiable foundation for stable, flicker-free HMI operation.
- Respect the Bulb: HMI bulbs are volatile. Strict adherence to cool-down times and handling protocols prevents accidents and ensures consistency.
- Punch with HMI, Paint with LED: For a convincing, hard sun effect through a window, the single-point source of an HMI is still unmatched.
- Know Your Numbers: In the 50Hz UK, a 172.8° shutter angle at 24fps is your safe zone. For green screens, a 40-50 IRE is your target for a clean key.
How to Light a Green Screen Evenly Using Bi-Colour LED Panels?
Even when you’re not simulating the sun, a gaffer’s job is total light control. Nowhere is this more apparent than in lighting a green screen. The goal here is the exact opposite of dramatic lighting: you want a perfectly flat, even, featureless field of green. Any hotspots, shadows, or variations in colour will make the keying process in post-production a nightmare. Bi-colour LED panels are the perfect tool for this job due to their even output and controllable colour temperature.
The key to success is achieving a consistent luminance level across the entire surface. Professional cinematographers recommend maintaining green screen luminance between 40-50 IRE for the cleanest keying results. You use a waveform monitor to check this, not your eye. The process involves building up layers of light, typically starting with large panels on an overhead truss or stands to create a soft, even top-down wash. Additional lights are then added to fill in any darker areas, particularly at the bottom of the screen where foot shadows can be a problem.
Another critical step is managing green spill—the green light from the screen reflecting onto your subject. This can be suppressed by using edge lights or backlights on the subject gelled with a 1/4 or 1/2 minus-green (magenta) gel. This neutralises the green reflection on the edges of their hair and shoulders, making for a much cleaner composite. It’s a meticulous process of addition and subtraction, all in the service of creating a perfect canvas for the VFX artists.
Your Checklist for a Perfect Green Screen Key
- Match the green screen’s colour temperature to your primary light source (e.g., 5600K if your key light is a daylight-balanced HMI).
- Position your main LED panels high and wide, angling them to create a large, even wash across the screen’s surface.
- Add smaller floor-level lights or LED strips to illuminate the area around the subject’s feet and eliminate any lingering shadows.
- Use your camera’s false colour or a separate waveform monitor to meticulously check for evenness, targeting a uniform 40-50 IRE value across the entire screen.
- Place edge lights or kickers on your subject, gelled with minus-green (magenta), to cancel out green spill and create a clean separation for post-production.
Armed with this systematic approach, you’re no longer just reacting to the whims of the British weather; you’re proactively controlling your environment. You have a robust, reliable system to deliver the light the story needs, shot after shot. Now, go and build your bulletproof lighting plan for the next grey morning.