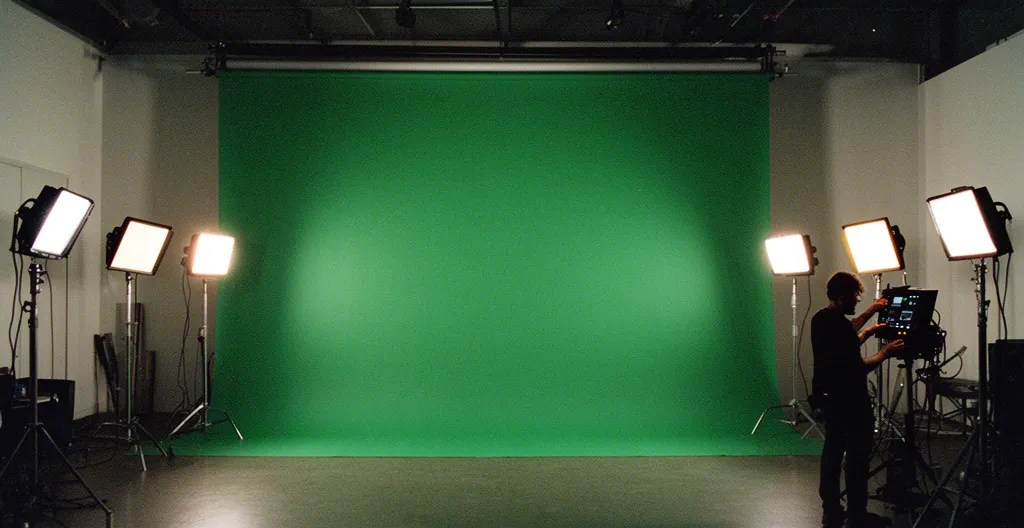
Efficient green screen lighting is less about brightness and more about strategic control over cost, colour, and reliability.
- Switching to bi-colour LED panels directly cuts cooling and power expenses, significantly impacting your studio’s Total Cost of Ownership (TCO).
- True colour accuracy goes beyond CRI; mastering metrics like TLCI and using a vectorscope saves countless hours and budget in post-production.
Recommendation: Treat your lighting kit not as a simple expense, but as a strategic investment in production efficiency, brand consistency, and operational resilience.
The green screen is up, the new 4K camera is ready, but the final video looks… off. The keying is messy, skin tones appear flat, and the post-production bill is climbing. As a corporate studio manager, this scenario is more than a creative frustration; it’s an operational bottleneck. Most guides will tell you to light the screen and subject separately, use a basic 3-point setup, and ensure the light is « even. » While true, this advice barely scratches the surface for a permanent studio where consistency, efficiency, and return on investment are paramount.
The conversation must move beyond hobbyist setups. What if the key to flawless, professional results wasn’t just about placing lights, but about making strategic choices before you even plug them in? This guide focuses on the operational and financial decisions—from thermal efficiency and colour science to power management and kit logistics—that transform a simple green screen into a reliable, cost-effective production hub. We will break down the core components of a modern LED lighting strategy, moving from tactical setup to strategic asset management, ensuring your investment pays dividends in every frame.
This article provides a complete framework for making informed decisions about your studio’s lighting. The following sections detail everything from the financial benefits of LEDs to the practical logistics of mobile shoots, giving you the tools to build a truly professional setup.
Summary: A Strategic Guide to Corporate Green Screen Lighting
- Why Switching to LED Panels Cuts Your Studio Cooling Bill by 40%?
- How to Create « Window Light » Quality Without a Softbox Using LEDs?
- Panel Lights or COB LEDs: Which is Better for Dramatic Interviews?
- The Low CRI Mistake That Makes Skin Look Grey on Camera
- When to Swap V-Lock Batteries on LEDs to Avoid Mid-Take Power Cuts?
- HMI or High-Output LED: Which Punches Through a Window Better?
- Why the Classic 3-Point Setup Still Works for 90% of Corporate Interviews?
- What Lighting Kit Fits in an Uber for London City Shoots?
Why Switching to LED Panels Cuts Your Studio Cooling Bill by 40%?
The most immediate and quantifiable benefit of upgrading to bi-colour LED panels is the dramatic reduction in operational costs, specifically power and cooling. Traditional tungsten or HMI lights are notoriously inefficient, converting a significant portion of energy into heat rather than light. This heat directly raises the ambient temperature of your studio, forcing your HVAC system to work overtime. For a permanent corporate studio, this isn’t a minor inconvenience; it’s a major, recurring line item on your utility bill.
Modern LED panels are designed for thermal efficiency. Industry analysis confirms that LEDs have a 30-40% lower power consumption than standard lighting for equivalent output. This reduction in power draw has a cascading effect: less power means less heat generated. This directly lessens the load on your air conditioning, leading to substantial savings. The impact is not just theoretical; it’s a proven factor in large-scale installations.
Case Study: The Dubai Mall’s Cooling Cost Reduction
While focused on large-scale screens, the principle remains identical for studio lighting. After a major installation of transparent LED systems, the Dubai Mall reported a staggering 22% annual reduction in air conditioning expenses. The cooling energy savings were measured at 18-25% compared to conventional LED setups, proving that prioritizing thermal efficiency in high-temperature environments delivers significant and predictable operational cost reductions.
Beyond direct savings, a cooler studio environment improves talent and crew comfort, reducing fatigue during long interview sessions and boosting overall productivity. To fully grasp the financial implications, you must look beyond the initial purchase price and calculate the Total Cost of Ownership (TCO), which includes these « hidden » operational expenses. A modern LED setup pays for itself not just in performance, but in sustained, long-term savings.
How to Create « Window Light » Quality Without a Softbox Using LEDs?
Achieving a soft, flattering « window light » look is a hallmark of professional corporate interviews. The traditional method involves large, cumbersome softboxes. However, the high output and controllability of modern bi-colour LED panels unlock a more elegant and versatile technique: the « book light. » This method creates an exceptionally soft, large source without a single softbox, giving you a natural look that wraps gently around the subject.
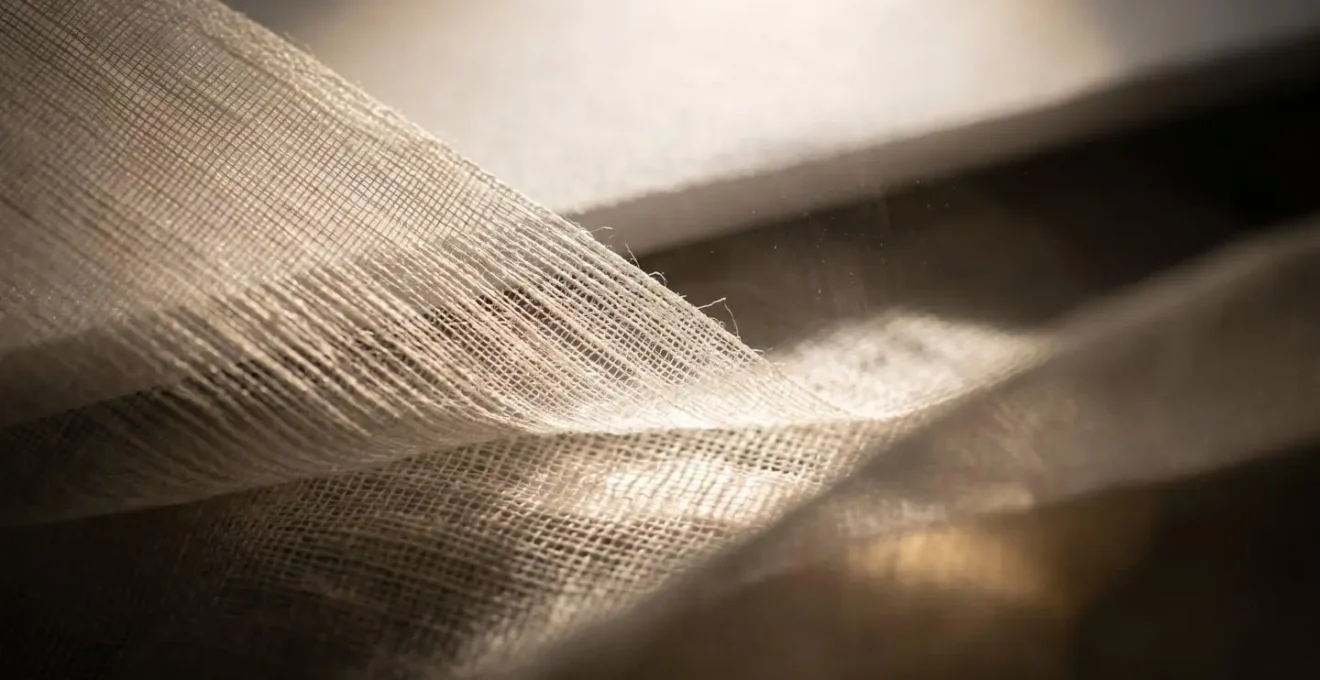
The concept is simple yet powerful: instead of pointing the light directly at the subject, you bounce it off one surface and then diffuse it through another. You point your LED panel away from the subject onto a white reflector (like foam core or muslin), and then place a layer of diffusion fabric (like a silk or grid cloth) between the reflector and the subject. The light is « booked »—bounced and then diffused—creating a beautiful, large, and soft source that mimics light from a large window.
This technique is only practical because of the high efficiency of modern LEDs. As Litepanels Co-founder Pat Grosswendt notes, some of the best panels are engineered for raw power. He explains:
The Astra Soft has an impressive output rated among the highest of soft LED panels. This higher intensity illuminates a wider area, allowing the panel to compete with strong exterior light sources.
– Pat Grosswendt, Litepanels Co-founder Interview
This high output is crucial because the book light technique involves significant light loss at each stage. With a powerful bi-colour LED, you have enough intensity to spare, allowing you to fine-tune the colour temperature (e.g., 3200K for a warm « golden hour » feel or 5600K for a crisp midday look) and achieve the perfect level of softness without compromising exposure.
Panel Lights or COB LEDs: Which is Better for Dramatic Interviews?
The choice between a bi-colour LED panel and a Chip-on-Board (COB) LED is a fundamental strategic decision that defines the visual tone of your interviews. It’s not about which is « better » overall, but which is the right tool for the job. LED panels provide an inherently soft, diffused light, ideal for flat, even illumination. COB LEDs, by contrast, are hard, point-light sources that excel at creating contrast and sculpted shadows. For a corporate studio manager, the choice depends entirely on the desired brand aesthetic.
If your goal is an approachable, open, and clean look—common for financial institutions or healthcare—LED panels are the default choice. Their wide, soft output acts as a beautiful fill light that minimizes shadows and is very forgiving on subjects. Conversely, if you’re aiming for a more dramatic, high-impact, or cinematic feel—often preferred by tech startups or creative agencies—a COB LED is superior. Its hard light can be precisely shaped with modifiers like Fresnels or spotlights to create classic lighting patterns like Rembrandt or split lighting, adding depth and authority.
The following table breaks down the core differences in this light-shaping philosophy:
| Feature | LED Panels | COB LEDs |
|---|---|---|
| Light Quality | Soft, diffused, wraparound | Hard, directional, sculpted |
| Shadow Control | Minimal shadows, even coverage | Precise shadow placement for drama |
| Modifier Options | Built-in diffusion, limited modifiers | Fresnels, spotlights, extensive modifiers |
| Best For | Fill light, ambient lighting | Key light for Rembrandt/split lighting |
| Power Efficiency | Lower power draw, battery-friendly | Higher output per watt |
Increasingly, professionals are adopting a hybrid approach. This involves using a COB LED with a modifier as the primary key light for dramatic shaping, complemented by a large LED panel dialed down to a very low intensity (10-20%) as a fill light. This technique provides the best of both worlds: the cinematic depth of hard light with just enough soft fill to maintain a polished, professional look suitable for corporate work.
The Low CRI Mistake That Makes Skin Look Grey on Camera
While evenness of light on your green screen is crucial for a clean key, the quality of light on your subject is what determines a professional-looking final product. The most common and costly mistake in this area is using lights with poor colour rendition. The Colour Rendering Index (CRI) is the most-known metric, but it’s only part of the story. A low-quality light source can fail to reproduce certain colours accurately, leading to skin tones that look flat, grey, or have an unnatural green or magenta tint. This creates a post-production nightmare, requiring extensive colour correction to fix.
As a baseline, professional cinematography standards indicate that a CRI below 90 can cause noticeable colour shifts that are difficult to correct. However, for a truly reliable studio setup, you need to look beyond CRI to more modern metrics. The Television Lighting Consistency Index (TLCI) is often considered a more accurate measure for broadcast cameras, as it directly assesses how a light source will be rendered on video. A TLCI rating of 90 or above is the professional standard.
For a studio manager, investing in lights with proven colour accuracy is a direct investment in post-production efficiency. A light that renders colours faithfully from the start can save dozens of hours of colour grading, freeing up budget and resources. Therefore, you must have a reliable process for auditing the colour quality of any light before it becomes a permanent part of your studio.
Your Action Plan: How to Audit LED Colour Quality Beyond CRI
- Check the TLCI Score: Prioritize lights with a publicly available Television Lighting Consistency Index (TLCI) rating. Aim for a score of 90+ as a minimum professional benchmark.
- Use a Vectorscope: Point the light at a white balance card and view the camera’s output on a vectorscope. A high-quality light will show a tight cluster at the center; a poor one will show spikes towards green or magenta.
- Perform a White Card Test: Record a white balance card under the test light. Examine the footage on a properly calibrated monitor to visually identify any colour casts that aren’t apparent to the naked eye.
- Conduct a Skin Tone Comparison: Film a subject’s face using different lights but identical camera settings (white balance, exposure). Compare the footage side-by-side to see which light renders skin tones most naturally and pleasingly.
- Document Post-Production Time: As a final real-world test, track the time it takes a colourist to grade footage from each light source. The best light is the one that requires the least correction to look great.
By implementing this rigorous testing protocol, you move from hoping for good colour to guaranteeing it, a critical step in building a reliable production workflow.
When to Swap V-Lock Batteries on LEDs to Avoid Mid-Take Power Cuts?
For any shoot that isn’t tethered to a wall outlet, power management becomes a critical component of operational reliability. A light dying mid-take during a key executive interview is not an option. While V-Lock batteries provide the high capacity needed for modern LED panels, knowing exactly when to swap them requires more than just looking at the indicator lights. It demands a strategic understanding of power draw under different conditions.
A battery’s runtime isn’t a fixed number; it’s a variable dependent on several factors. The most significant is brightness intensity. A panel at 100% brightness can drain a battery twice as fast as one at 50%. Another crucial factor for bi-colour panels is the colour temperature mix. Running a panel at a mixed temperature (e.g., 4400K) requires powering both the tungsten and daylight LED emitters simultaneously, which can increase power draw by 15-20% compared to running at a pure 3200K or 5600K.
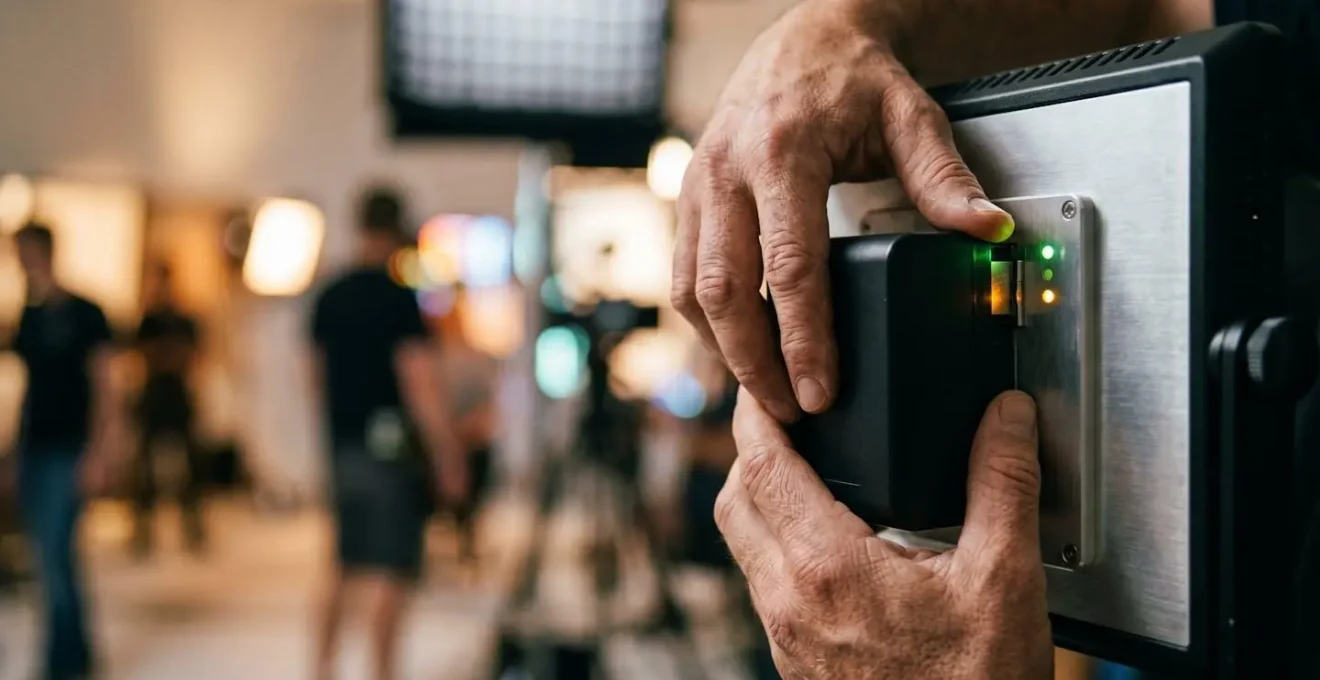
External factors also play a huge role, especially ambient temperature. As one real-world test demonstrated, a battery’s performance can degrade significantly in the cold.
Runtime Analysis: Real-World V-Lock Battery Performance
In-depth testing of a 150Wh V-lock battery revealed its performance under various conditions. At a standard 50% brightness with a daylight balance (5600K), the battery consistently provided about 3 hours of runtime. However, when the panel was set to a mixed colour temperature, the power draw increased, reducing runtime. More dramatically, operating in cold environments below 10°C was found to reduce the battery’s total runtime by up to 30%, a critical factor for on-location shoots.
The professional rule of thumb is to swap batteries proactively, not reactively. If a battery indicator shows one bar remaining (typically 25% or less), swap it at the next natural break in filming. Don’t risk pushing it to the very end. For a critical, long-form interview, it’s wise to start with a fresh, fully charged 150Wh or 190Wh battery and have another on standby, ensuring you have hours of uninterrupted power.
HMI or High-Output LED: Which Punches Through a Window Better?
When you need to simulate sunlight or overpower the actual sun coming through a window, you need raw power. For decades, the industry standard for this task has been the HMI (Hydrargyrum Medium-arc Iodide) light. However, modern high-output COB LEDs now offer a compelling alternative. For a corporate studio manager, the choice between them comes down to a trade-off between raw output, power requirements, and operational flexibility.
There’s no denying the sheer intensity of a high-wattage HMI. An HMI 1200W can produce a powerful, focused beam that effectively simulates hard sunlight. However, this power comes at a cost. HMIs require a heavy, separate ballast, have a significant warm-up (« strike ») time, and a much longer cool-down (« restrike ») time before they can be turned back on. They are also power-hungry, often requiring a dedicated electrical circuit.
High-output LEDs, like a 600W COB, offer a more efficient and flexible solution. While a single unit may not have the exact same punch as a 1200W HMI, their advantages are significant. As thermal engineering analysis confirms, LEDs consume 70-80% less energy for equivalent output. This means they can often run on standard household circuits, are instant-on/off, and offer bi-colour adjustability without the need for gels. This operational agility is a massive advantage in fast-paced corporate environments.
The decision is a strategic one, as highlighted by a direct comparison of their requirements:
| Specification | HMI 1200W | LED 600W |
|---|---|---|
| Power Draw | 1200W + ballast overhead | 600W direct |
| Circuit Requirements | Dedicated 20A circuit | Standard 15A household outlet |
| Strike/Restrike Time | 3-5 min warm-up, 15-20 min cool-down | Instant on/off |
| Color Temperature | 5600K with potential green spike | Variable 2700-6500K |
| Setup Flexibility | Requires ballast placement | All-in-one design |
For most corporate applications, unless you are fighting direct midday sun through a massive window, the flexibility, power efficiency, and instant-on capability of a high-output LED make it the more practical and strategic choice. For extreme situations, HMIs still hold a place, but the gap is closing rapidly.
Why the Classic 3-Point Setup Still Works for 90% of Corporate Interviews?
In the world of lighting, trends come and go, but the classic 3-point lighting setup—consisting of a key light, fill light, and back light—remains the unshakeable foundation for 90% of professional corporate interviews. Its endurance isn’t due to a lack of imagination, but because it perfectly solves the core objective: to shape a subject, separate them from the background, and create a polished, three-dimensional image. For a corporate studio, its true power lies in its reliability and adaptability.
The roles are simple and effective. The Key Light is the main, brightest light, positioned at an angle to create shape and dimension on the subject’s face. The Fill Light is a softer, less intense light on the opposite side, used to « fill in » the shadows created by the key light and control the overall contrast. The Back Light (or « hair light ») is placed behind the subject to create a subtle rim of light, visually separating them from the background and preventing a flat, « pasted-on » look, which is especially important for green screen work.
With modern bi-colour LED panels, this classic setup becomes even more powerful. You can precisely control the intensity and colour of each light source to tailor the look to a specific corporate brand identity. For example, a tech startup might want a high-contrast look (a « high lighting ratio » of 3:1 or 4:1 between key and fill), while a conservative financial firm might prefer a softer, low-contrast look (a 2:1 ratio). This is easily achieved by adjusting the intensity of your LED fill light. A fourth light, a small « eye light » or catchlight placed near the camera, can be added to create a vital spark of life in the subject’s eyes.
Here’s how to modernize the setup for a corporate context:
- Key Light: Position your main bi-colour LED panel at a 45° angle to the subject and set the camera exposure based on this light (typically f/2.8-f/4).
- Fill Light: Use a second, larger LED panel, dimmed to 10-30% of the key light’s intensity, to act as your variable contrast control.
- Hair Light: Add a small LED panel or tube light behind and above the subject, set to a very low intensity, just enough to create separation.
- Eye Light (Optional 4th Point): Place a pocket-sized LED near the camera lens at around 5% intensity to add a crucial catchlight.
- Match Brand Identity: Use the fill light to set your lighting ratio. High contrast (high ratio) feels more dramatic and modern; low contrast (low ratio) feels more open and traditional.
This system provides a repeatable, consistent, and professional result every time, which is the ultimate goal for any permanent studio installation.
Key Takeaways
- Lighting as a Financial Asset: Choosing LEDs is a capital investment that pays dividends through lower Total Cost of Ownership (TCO), driven by significant reductions in power and cooling expenses.
- Colour Science is Non-Negotiable: Moving beyond basic CRI and auditing lights with TLCI and vectorscopes is a direct investment in post-production efficiency, saving time and budget.
- Reliability is the Core Feature: For a corporate studio, operational reliability—from proactive battery management to efficient thermal design—is more valuable than raw brightness.
What Lighting Kit Fits in an Uber for London City Shoots?
The modern corporate world is mobile. Interviews and video shoots are no longer confined to the main studio; they happen in client offices in the City, co-working spaces in Shoreditch, or on location in Canary Wharf. For the studio manager, this creates a new logistical challenge: how to deploy a professional, battery-powered, multi-point lighting kit that is compact and light enough to fit in the back of an Uber or be carried on the Tube.
The solution lies in a carefully curated kit built around compact bi-colour LED panels, lightweight carbon fibre stands, and airline-friendly batteries. The goal is to achieve maximum creative capability with a minimal footprint. Professionals have refined this down to a science, often building their entire mobile lighting and camera package into a single airline-compliant rolling case like the Pelican 1510.
Case Study: The « Pelican 1510 » Mobile LED Kit
A proven professional configuration for urban shoots fits entirely within a standard airline carry-on case. The core components include: two compact bi-colour LED panels (like the Viltrox VL-500RT), two carbon fibre light stands that collapse to under 20 inches, two airline-compliant 95Wh V-Lock batteries, and essential modifiers like foldable softboxes and versatile Matthellini clamps. This entire setup weighs under 20kg and provides 4-6 hours of continuous shooting capability, perfect for guerrilla-style productions in fast-paced urban environments.
A key strategic decision for any mobile kit is the battery ecosystem. The two main contenders are smaller NP-F style batteries and larger V-Lock batteries. While NP-Fs are cheaper and lighter individually, they offer shorter runtimes. V-Locks provide significantly more power but are heavier and more expensive. For London shoots, the choice often depends on the day’s schedule.
| Battery Type | NP-F970 | V-Lock 95Wh |
|---|---|---|
| Runtime (per battery) | 1-2 hours | 3-4 hours |
| Weight | 300g each | 650g each |
| Cost | £30-40 | £120-150 |
| Best For | 2-hour Soho shoots | Full-day Canary Wharf productions |
| Airline Friendly | Yes (under 100Wh) | Yes (95Wh versions) |
By standardizing a compact, reliable mobile kit, you extend the professional capabilities of your main studio to any location, ensuring brand consistency and high production values no matter where the shoot takes you.
To implement these strategies effectively, the logical first step is to audit your current lighting inventory and workflows against these professional benchmarks. Assessing your existing Total Cost of Ownership, colour accuracy, and mobile capabilities will reveal the most impactful areas for immediate upgrade and investment, ensuring every pound spent on lighting directly contributes to a more efficient and impressive final product.