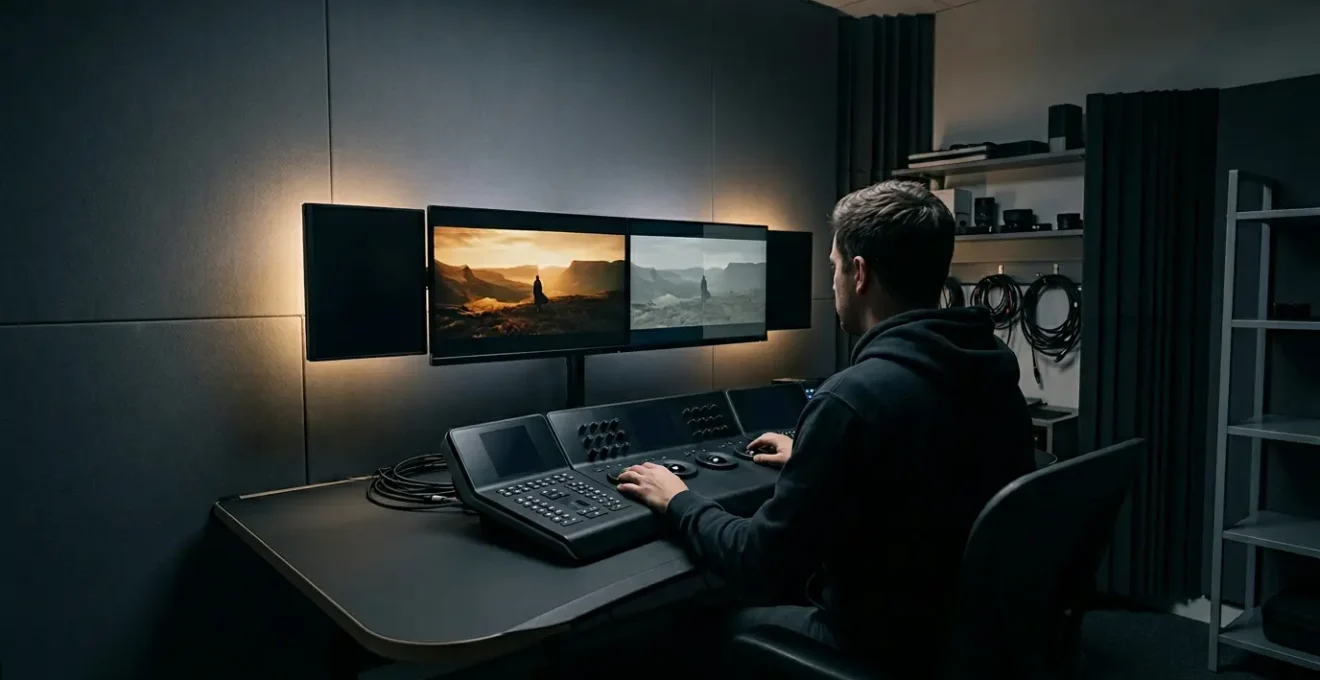
The belief that a commercial LUT is a one-click « cinematic » solution is the biggest roadblock to efficient, professional colour grading.
- True speed comes from a disciplined technical foundation, not from skipping steps.
- Most LUT failures stem from applying a creative look to an unbalanced, unprepared image.
Recommendation: Shift your focus from finding the perfect LUT to mastering the pre-LUT balancing process.
For any content creator on a tight deadline, the allure of a « cinematic look » is powerful. The market has responded with an endless supply of commercial Look-Up Tables (LUTs) promising the aesthetic of a Hollywood blockbuster with a single click. It seems like the ultimate shortcut to balancing speed and quality. But as many quickly discover, the result is often a disaster: crushed shadows, unnatural skin tones, and an image that looks cheaper than the original footage.
The common advice is to simply « be more careful » or « buy better LUTs, » but this misses the fundamental point. The problem isn’t always the LUT itself; it’s the workflow. Relying on a creative LUT as a magic button ignores the critical technical work that must happen first. It’s like trying to paint a masterpiece on a canvas that hasn’t been primed—the final colours will be muddy and inconsistent, no matter how skilled the artist.
So, if the one-click solution is a myth, how do you achieve that polished look without spending days on a custom grade? This is where a pragmatic, professional mindset comes in. The secret to speed isn’t about skipping steps; it’s about executing the right steps in the right order with ruthless efficiency. The true key lies in understanding that a LUT is a mathematical tool, not an artistic replacement for skill.
This guide will deconstruct that professional workflow. We will explore why that « blockbuster » LUT fails, how to properly prepare your footage, and how to use LUTs intelligently to accelerate—not compromise—your creative vision. We’ll move beyond the platitudes and give you a disciplined framework for getting fast, repeatable, and high-quality results.
This article will guide you through the essential principles and workflows to master both speed and quality in your color grading. Explore the sections below to build a robust technical foundation.
Summary: A Pragmatist’s Guide to Fast, Professional Colour Grading
- Why That « Hollywood Blockbuster » LUT Looks Terrible on Your Footage?
- How to Balance Your Shot Before Applying a Creative LUT?
- Log Conversion LUT or Creative Look: Identifying the Difference?
- The LUT Mistake That Turns Skin Tones Green or Magenta
- How to Blend LUTs to Dial Back the Intensity?
- How to Grade Log Footage for Broadcast Without Introducing Digital Noise?
- How to Build a Custom LUT That Defines Your Corporate Visual Identity?
- How to Pass Clearcast Technical Standards for UK TV Spots on the First Try?
Why That « Hollywood Blockbuster » LUT Looks Terrible on Your Footage?
The most common frustration with commercial LUTs is the disconnect between promise and reality. You apply a « Teal & Orange » LUT, expecting a slick, modern aesthetic, but instead, your footage becomes a murky mess with sickly skin tones. The reason is simple: a creative LUT is a fixed set of mathematical instructions designed for a perfectly neutral and balanced source image. It’s not intelligent; it simply transforms input color values to output values, regardless of whether the input was correct to begin with.
If your original shot has a slight blue color cast, the LUT will amplify it. If your highlights are too bright, the LUT will clip them to pure white, destroying all detail. It’s applying a rigid formula to a variable input. Every camera, lens, and lighting setup produces a unique starting point. A LUT designed on an ARRI Alexa in controlled studio lighting will almost certainly fail on a Sony A7S III shot in mixed daylight because their technical foundations are completely different.
Furthermore, many creators get caught in a loop of trying to « fix » a bad LUT application, spending hours on tiny tweaks. This is a classic case of losing perspective. A professional approach dictates that if a look doesn’t work within a few moments, it’s the wrong tool for the job. The goal is to find a look that enhances the image, not to force a broken image to fit a preconceived look. The first step is always diagnosis, not endless correction.
Your Action Plan: Diagnosing a Mismatched LUT
- Open Lumetri Scopes: Before any adjustments, view the Waveform, Histogram, and Vectorscope to get a mathematical representation of your footage’s values. This is your objective truth.
- Check for Clipping: Verify if luminance values are hitting 100 (overexposure) or 0 (pure black) in the Waveform. A LUT will crush these areas, causing a loss of detail.
- Verify the File Format: Ensure you are using a 3D LUT (.cube file) for creative work. They offer the depth and accuracy needed for cinematic results, unlike simpler 1D LUTs.
- Confirm LOG Format: The flattest, most desaturated LOG footage provides the maximum flexibility for LUT application. If your footage is already in a standard color space (like Rec.709), the LUT is applying a look on top of an existing look.
- Apply a Grayscale Ramp Test: This test identifies if a LUT is technical (producing a smooth, neutral gray) or creative (introducing color tints or crushing blacks/whites).
How to Balance Your Shot Before Applying a Creative LUT?
If a creative LUT is the final artistic touch, then primary balancing is the non-negotiable prep work. This stage is not about creativity; it’s about establishing a neutral, consistent, and technically correct starting point. A professional colorist spends the majority of their time here, ensuring that every clip in a sequence has a unified contrast level and accurate white balance. Skipping this step is the single biggest cause of LUT failure.
The process follows a strict order of operations. First, you adjust exposure and contrast to create a full range of tones without clipping blacks or whites. Second, you correct for any color casts. A common mistake is to use a white object in the frame for white balance. A more reliable method is to use the vectorscope’s skin-tone line as the primary guide. Regardless of ethnicity, human skin tones will always fall along this specific line. Nailing this ensures your subjects look natural, which is the anchor for the entire image.
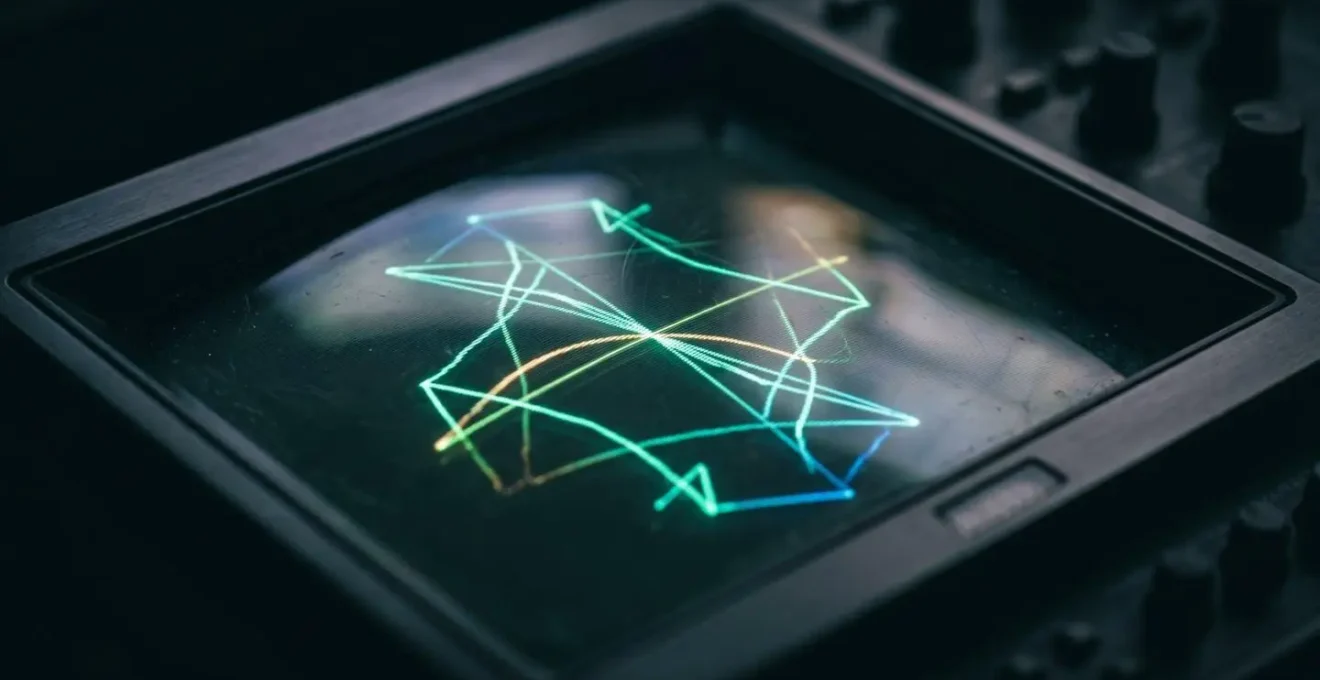
As the vectorscope display shows, this technical reference point removes subjectivity from the process. To maintain efficiency, this balancing work should be structured. In software like DaVinci Resolve, professionals keep their primary corrections on the first node and apply the creative LUT on a subsequent node. This workflow discipline allows you to quickly swap out creative LUTs on the second node while preserving the foundational balance on the first. It turns a repetitive task into a systematic, one-click step, freeing you to experiment creatively without destroying your base grade.
Once balanced, you can audition multiple LUTs rapidly, taking screenshots to compare options side-by-side. This is where speed is gained—not by skipping the prep work, but by making the creative selection process faster and more effective.
Log Conversion LUT or Creative Look: Identifying the Difference?
The term « LUT » is often used as a catch-all, leading to significant confusion. In professional workflows, there are two distinct categories of LUTs that serve entirely different purposes: technical (or conversion) LUTs and creative LUTs. Mistaking one for the other can completely break your color pipeline and compromise your image integrity.
A technical LUT is a purely mathematical tool. Its only job is to translate footage from one color space to another—most commonly from a camera’s flat Log profile (like LogC or S-Log3) to a standard viewing color space like Rec.709. This step is a preparatory, non-negotiable part of the process. It’s like developing film; you have to do it to see a « normal » image. You cannot partially apply it or dial back its intensity. It’s an all-or-nothing conversion.
A creative LUT, on the other hand, is an artistic tool. It’s applied after the technical conversion to impart a specific style, mood, or aesthetic—the « film look, » the « bleach bypass, » or the « summer blockbuster. » This is a destructive choice, meaning it fundamentally alters the color data. Unlike a technical LUT, its intensity can often be dialed back, blended, or mixed to suit the footage. To ensure precision in this creative process, industry professionals confirm that a 33x33x33 grid size is the standard for creative LUTs, offering a good balance between accuracy and performance.
The following table, based on professional workflow guides, breaks down the key distinctions you must understand to maintain a clean and effective color pipeline.
| Characteristic | Technical/Conversion LUT | Creative LUT |
|---|---|---|
| Purpose | Color space conversion (e.g., LogC to Rec709) | Artistic look application |
| File Structure | Uniform, mathematical data set | Arbitrary, complex data patterns |
| Manufacturer Info | Contains descriptive headers from manufacturer | Usually lacks technical specifications |
| Grayscale Response | Produces smooth, neutral gray ramp | Introduces color tints or crushes blacks/whites |
| Workflow Position | Preparatory, non-negotiable pipeline step | Destructive creative choice |
| Flexibility | Cannot be partially applied | Can be dialed back with opacity |
The LUT Mistake That Turns Skin Tones Green or Magenta
There is no faster way to make your footage look amateurish than getting the skin tones wrong. One of the most common and jarring errors when using a commercial LUT is seeing skin tones shift dramatically, often veering into an unnatural green or magenta cast. This happens because the LUT is making drastic changes to hue and saturation without any awareness of the image’s content.
This problem is rooted in the relationship between luminance (brightness) and chrominance (color). A LUT that was designed for a dimly lit scene will have instructions to heavily saturate colors to compensate. When you apply that same LUT to a brightly lit shot, it pushes the already-healthy saturation levels into overdrive, causing them to « break » and shift in hue. This phenomenon is well-documented in broadcast workflows, where chrominance and luminance levels are strictly controlled to prevent such shifts, as saturation is directly affected by lighting conditions.
Fixing this requires a more surgical approach than simply turning down the LUT’s intensity. The best practice is to correct the problematic skin tones before the LUT is even applied. Using HSL (Hue, Saturation, Luminance) curves or a qualifier, you can isolate the specific range of colors that represent the skin tones in your shot. You can then make subtle adjustments to that range, neutralizing any color casts before the creative LUT has a chance to exaggerate them. This workflow can be summarized as: Partial Correction → LUT Application → Secondary Correction. You make a primary fix, apply the creative look, and then make any final, minor tweaks needed after the LUT.
This proactive method preserves the integrity of the most important element in your frame—the human face. It requires more discipline than a one-click approach but is infinitely faster than trying to rescue a broken image after the fact.
How to Blend LUTs to Dial Back the Intensity?
Even when you’ve perfectly balanced your footage, a creative LUT can still feel too aggressive. The « 100% on » look is often overwhelming and can make footage feel processed and artificial. The most common advice is to simply lower the « opacity » or « intensity » of the LUT. While this is a good start, it’s a blunt instrument. A professional workflow offers far more nuanced and powerful ways to blend LUTs for a more organic and customized result.

Advanced techniques move beyond simple opacity. One powerful method is using parallel mixer nodes. This allows you to combine the original, balanced image with the LUT-affected image, giving you precise control over how the tones and colors from each stream are mixed. Another sophisticated approach is luma key blending. This lets you apply the LUT’s effect only to specific brightness ranges. For example, you could apply a gritty, high-contrast LUT only to the mid-tones and shadows while leaving the highlights clean and natural, preventing skin from looking overly harsh.
True creativity is unlocked when you start layering multiple LUTs at different intensities. You might use a subtle film emulation LUT at 50% intensity to establish a base texture, and then layer a teal-and-orange LUT at just 30% on top to gently push the colors. This « sandwich » combination creates a unique look that is far more sophisticated than any single, off-the-shelf LUT. By using split-screen views to audition these combinations, you can quickly build a library of custom looks while maintaining the speed that a LUT-based workflow promises.
These techniques transform a LUT from a rigid preset into a flexible creative ingredient. It’s about taking the raw material of a commercial LUT and refining it to perfectly suit your specific footage and artistic intent.
How to Grade Log Footage for Broadcast Without Introducing Digital Noise?
Working with Log footage gives you maximum dynamic range, but it comes with a major risk: digital noise. When you take a flat, low-contrast Log image and stretch it back to a normal contrast range (a process called « normalization »), you are also stretching everything in the image—including the noise that lurks in the shadows. If not handled carefully, this can result in a final image that looks grainy and unprofessional, an instant failure for any broadcast submission.
The most important strategy for avoiding noise begins during filming, not in post-production. It’s called ETTR (Expose to the Right). This means slightly overexposing your image without clipping the highlights. The reason is that digital noise is most prevalent in the darkest parts of an image. By « lifting » those shadows with more light during capture, you place them in a cleaner part of the camera’s sensor data. As professional cinematographers confirm, correcting 1 stop of overexposure in Log produces significantly less noise than correcting 1 stop of underexposure.
In post-production, the order of operations is critical. Noise reduction must be the very first thing you apply to your raw Log footage, even before color correction or LUTs. Applying it later means you’ll be asking the software to analyze and reduce noise that has already been amplified and potentially blended with creative color, which is far less effective. For a targeted approach, use qualifier-based noise reduction to apply the effect only to the shadows, preserving the fine detail in the mid-tones and highlights.
By combining a smart filming strategy like ETTR with a disciplined post-production workflow (Denoise → Color Correction → Creative Grade), you can leverage the full dynamic range of Log footage while delivering a clean, broadcast-quality image free of distracting digital noise.
How to Build a Custom LUT That Defines Your Corporate Visual Identity?
While commercial LUTs can accelerate individual projects, a custom LUT is an asset that builds long-term brand equity and workflow efficiency. For businesses, YouTubers, or any creator producing regular content, a custom LUT serves as a core part of the corporate visual identity (CVI). It ensures that every piece of video content—from a flagship commercial to a quick social media update—shares a consistent, recognizable, and professional aesthetic.
Building a custom LUT starts with a reference grade. You take a perfectly shot and balanced clip and perform a meticulous custom grade from scratch, focusing on creating a look that reflects the brand’s values. Is the brand warm and approachable? Your grade might feature soft contrast and warm, golden hues. Is it modern and disruptive? Perhaps a cooler, high-contrast look is more appropriate. The key is to define this look once, perfectly.
Once this « hero » grade is finalized, you can export the color adjustments as a .cube file. This file becomes your proprietary brand LUT. The benefits are immediate and compounding. A compelling case study shows that editors spend significantly less time adjusting clips manually because a custom LUT applies the foundational look instantly. When collaborating in teams, this shared asset ensures everyone works with the same visual guidelines, making post-production smoother, faster, and more professional.
A custom LUT is more than a color preset; it’s a tool for consistency and a statement of brand identity. It transforms color grading from a subjective, project-by-project task into a scalable, repeatable system that reinforces the brand with every frame.
Key Takeaways
- A LUT is a mathematical tool, not a magic filter. Its success depends entirely on the technical quality of the input footage.
- The « Balance > Convert > Create » workflow is non-negotiable. Always prepare your footage before applying any artistic look to maintain image integrity.
- Skin tone is the ultimate benchmark of a good grade. Protect it by balancing your shot and correcting color casts *before* the LUT is applied.
How to Pass Clearcast Technical Standards for UK TV Spots on the First Try?
Nowhere is the need for technical discipline more apparent than in broadcast television, which has zero tolerance for error. For creators working on commercials for the UK market, passing Clearcast’s automated quality control (QC) is a non-negotiable final hurdle. Failing this QC check due to a color grading error can cause costly delays. Understanding these strict technical standards serves as a masterclass in precision for any colorist.
Clearcast’s requirements are based on the EBU R103 specification, which defines the legal limits for broadcast signals. The two most critical parameters for colorists are luma (brightness) and chroma (color saturation). Your image’s luma must not fall below 0mV (pure black) or exceed 700mV (pure white). For chroma, the rules are even more specific. For instance, UK broadcast standards require that RGB components must be between -5% and 105% (-35mV and 735mV), with a maximum tolerance for only 1% of the picture area. These are not suggestions; they are hard limits.
To pass on the first try, you must grade with these limits in mind from the very beginning. This means setting up your waveform and vectorscope with EBU R103 legal markers visible at all times. As you grade, you must constantly monitor these scopes to ensure your adjustments never push the signal outside the legal range. For any strong light effects, glows, or high-saturation elements, a « video limiter » or « broadcast safe » filter must be the final effect in your chain to clamp any illegal values.
This table provides a high-level overview of the key technical requirements that your grade must satisfy for UK broadcast.
| Parameter | Requirement | Standard |
|---|---|---|
| RGB Gamut | Within broadcast-safe spectrum | EBU R103 |
| PSE Check | No harmful flashing patterns | ITU-R BT1702 |
| Integrated Loudness | -23 dBLUFS | EBU R128 |
| Peak Level | -1 dBTP (recommended -3 dBTP) | EBU R128 |
| Phase Coherence | Mean phase not below -0.95 | Broadcast standard |
| Frame Rate | 25 FPS | UK broadcast |
| Color Bit Depth | 10 Bit minimum | HD specification |
Ultimately, the debate between commercial LUTs and custom grading presents a false choice. The pragmatic professional uses both. The key is adopting a workflow where LUTs are used as accelerators within a structured, technically sound framework, not as a replacement for foundational skill. By prioritizing balancing, understanding the tools, and maintaining workflow discipline, you can deliver high-quality, cinematic results quickly and consistently.