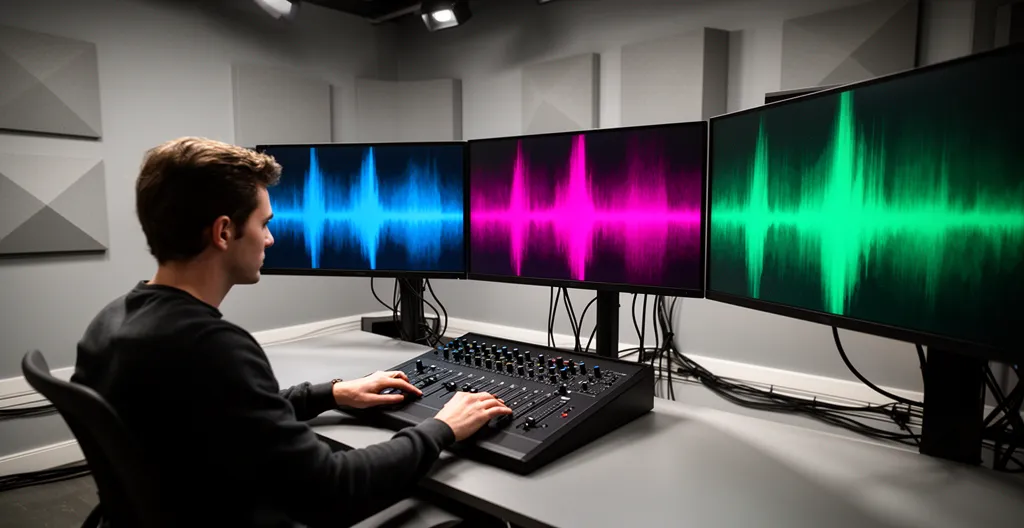
In summary:
- Audio drift is not random; it’s a mathematical inevitability caused by devices using different « digital clocks » (mismatched sample rates or frame rates).
- The most common culprit is mixing 44.1kHz audio (music standard) with 48kHz audio (video standard) or using footage with a variable frame rate (VFR).
- Prevention is the best cure: Set all devices to 48kHz audio and a constant frame rate (CFR) before recording.
- For multi-device shoots, dedicated timecode generators are the foolproof solution to keep everything locked in perfect sync from start to finish.
- For post-production fixes, use your NLE’s built-in tools for minor adjustments or dedicated software like PluralEyes for severe drift correction.
You’re staring at the timeline. It’s a one-hour interview, beautifully shot. The first 20 minutes are perfect, but then you notice it. The guest’s lips are moving just a fraction of a second before you hear their voice. By the 45-minute mark, the sync is completely off. Your heart sinks. This isn’t just a simple nudge on the timeline; this is progressive audio drift, the bane of every long-form content editor. The common advice is to make frustrating cuts or use a clunky rate-stretch tool, but these are just bandages on a deeper wound. Research shows that even a 300 milliseconds delay breaks viewer immersion, and poor sync can lead to a significantly higher bounce rate.
Many editors jump to external plugins or blame their software, but the problem is more fundamental. The issue often begins long before the files hit your NLE, stemming from a conflict between the internal « digital clocks » of your various recording devices. You might have heard you need to match sample rates, but do you know *why* a file recorded at 44.1kHz inevitably drifts away from one at 48kHz over time? It’s a simple matter of mathematics, not a random glitch.
But what if the key wasn’t just learning post-production tricks, but mastering the principles that prevent drift from ever happening? This guide abandons the simplistic « fix-it-in-post » mentality. Instead, we’ll dissect the root causes of audio drift, turning you into a troubleshooting wizard who can diagnose and solve sync issues at their source. We’ll explore why sample rates clash, how timecode acts as a universal translator for your gear, and the critical on-set mistakes that make a clean sync impossible.
This article will guide you through a complete workflow, from understanding the foundational science of digital audio to implementing professional on-set practices and advanced post-production repairs. Follow this structured approach to transform sync issues from a recurring nightmare into a solved problem.
Summary: A Guide to Solving Audio Drift in Post-Production
- Why Does Your Audio Drift When Mixing 44.1kHz and 48kHz Files?
- How to Sync 3 Cameras and 4 Mics in Seconds Using Timecode?
- PluralEyes vs Built-in Sync: Is Third-Party Software Still Necessary?
- The On-Set Mistake That Makes Automated Syncing Impossible
- How to Use a Slate Correctly to Save Hours in Post-Production?
- How to Remove a Siren from Dialogue Using Spectral Editing?
- When to Start Mixing Audio: Before or After Colour Grading?
- How to Mix Dialogue and Music So Voices Cut Through on Mobile Speakers?
Why Does Your Audio Drift When Mixing 44.1kHz and 48kHz Files?
The core reason your audio drifts is not a software bug; it’s a conflict of digital clocks. Every device that records audio or video has its own internal crystal oscillator that ticks at a specific frequency to keep time. When you record audio, the sample rate (e.g., 48kHz) dictates how many « snapshots » of the audio waveform are taken per second. Think of it as a digital ruler measuring time. A 48kHz file has 48,000 tick marks for every second, while a 44.1kHz file has only 44,100.
When you place both files in a 48kHz timeline, the software has to make a choice. It assumes both files represent the same duration. However, the 44.1kHz file is physically shorter because it contains fewer samples for the same perceived length of time. Over a few seconds, this difference is negligible. But stretched over an hour-long interview, those missing 3,900 samples every second accumulate. The 44.1kHz file will play back slightly faster to « catch up, » causing it to drift progressively out of sync with the 48kHz video and audio files.
This is why the industry standard for video production is 48kHz. It’s the native language of video editors. Using 44.1kHz, the standard for audio CDs, is like trying to build a house with a metric tape measure while your blueprints are in imperial units. The numbers will eventually diverge. The first step in any professional workflow is to ensure every single device—cameras, external recorders, mixers—is set to record at 48kHz. This eliminates the primary cause of drift before you even press record.
Your Action Plan: Identify Sample Rate Mismatches Before Editing
- Check Timeline Settings: Before importing any media, verify your NLE’s timeline is set to the correct frame rate (e.g., 29.97 vs. 30 fps) and audio sample rate (48kHz).
- Verify Audio Sources: Confirm all cameras and audio recorders were set to record at the same sample rate, ideally 48kHz, for the entire shoot.
- Inspect Media Properties: Use a tool like MediaInfo or the inspector in your NLE to check the properties of every single video and audio file before you import them into the project. Look for any discrepancies.
- Test with a Short Clip: If you suspect an issue, sync a small 1-minute section at the beginning and end of a long clip. If the end is out of sync, you have a drift problem.
- Convert Problematic Files: Convert any audio files that are not 48kHz (especially compressed MP3s) to a 48kHz WAV or AIF format *before* importing them into your editing software.
How to Sync 3 Cameras and 4 Mics in Seconds Using Timecode?
When you’re dealing with a complex setup involving multiple cameras and separate audio recorders, manual syncing with claps or waveform analysis becomes a tedious, time-consuming nightmare. The professional, foolproof solution is timecode. Think of timecode as the universal language that forces all your devices’ digital clocks to agree on the exact same time, down to the frame.
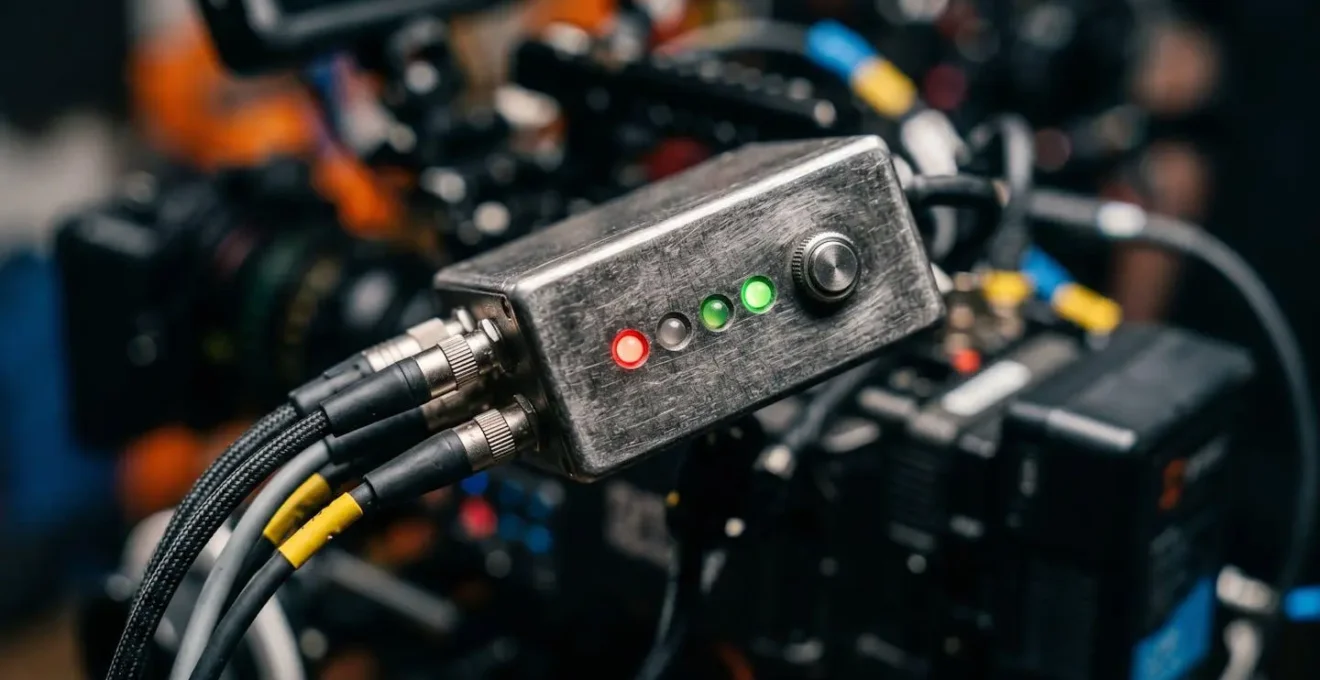
The process involves using dedicated timecode generator devices, often called « sync boxes, » like those from Tentacle Sync, Ambient, or Deity. Here’s the workflow: you set one master device to generate the timecode. Then, you connect this master to every other device (cameras, audio recorders) one by one to « jam sync » them. This transfers the master time to all the « slave » devices. After jamming, you disconnect the master and attach a small, lightweight sync box to each camera and audio recorder. These boxes will continue to output the perfectly synchronized timecode to their respective devices for the entire duration of the shoot.
The magic happens in post-production. Instead of visually aligning waveforms or clap sounds, you simply select all your video and audio clips in your NLE and choose the « Sync by Timecode » option. In seconds, the software reads the embedded timecode data from each file and perfectly aligns them on the timeline, regardless of when each device started or stopped recording. This method is exceptionally robust for long interviews because it doesn’t rely on audio content; it relies on a constant, shared timing reference. It completely eliminates progressive drift between devices.
This image shows a close-up of a timecode generator, the heart of a multi-device sync workflow, connected to various pieces of out-of-focus camera equipment, representing the hub that keeps all devices in perfect time.
Case Study: Eliminating Drift in a 2-Hour Multi-Cam Performance
Professional editors have documented massive time savings by implementing a timecode workflow. In one instance involving a 1-2 hour live performance with multiple cameras and audio recorders, the editor noted that consumer-grade recorders would typically drift every 10 minutes, requiring hours of manual nudging and adjustments in post. By using a timecode-based system like Tentacle Sync, they were able to sync all assets for the entire performance in under a minute, completely eliminating any drift issues and saving a full day of post-production labor.
PluralEyes vs Built-in Sync: Is Third-Party Software Still Necessary?
For years, Red Giant’s PluralEyes was the undisputed king of audio synchronization, especially for editors who didn’t have the luxury of timecode on set. It uses advanced algorithms to analyze audio waveforms and magically align clips, even correcting for minor drift. But as non-linear editors (NLEs) like Adobe Premiere Pro and DaVinci Resolve have improved their own built-in sync functions, the question arises: is a dedicated tool like PluralEyes still worth the investment?
The answer depends on the complexity and quality of your source material. Modern NLEs are now excellent at syncing clips based on audio waveforms, provided you have clean, usable scratch audio on every camera. DaVinci Resolve’s Fairlight page, in particular, has a powerful auto-align feature. For short clips or simple interview setups with good reference audio, the built-in tools are often more than sufficient and save you the cost of extra software.
However, third-party software still holds a distinct advantage in three key scenarios. First, when dealing with severe audio drift in very long recordings, PluralEyes has a dedicated algorithm specifically designed to detect and correct this progressive desynchronization, a feature most NLEs lack. Second, if a camera completely failed to record audio (no scratch track), PluralEyes can still attempt to sync the clip based on visual data, whereas most NLEs cannot. Finally, for high-volume workflows involving hundreds of clips, the batch processing capabilities of a dedicated tool can be a significant time-saver. As audio expert Gerald Undone explains in a tutorial for 4K Shooters, the core issue is subtle but cumulative.
Even a slight speed inconsistency, stretched over a long duration, will cause a severe syncing issue.
– Gerald Undone, 4K Shooters Tutorial
This table breaks down the key differences to help you decide which tool is right for your workflow, based on an analysis of different sync methods.
| Feature | PluralEyes | Premiere Pro Built-in | DaVinci Resolve |
|---|---|---|---|
| Drift Correction | Dedicated algorithm | Manual stretch tool | Waveform alignment |
| Long Interview Support | Optimized for 60+ min | Requires Audition roundtrip | Auto-align by waveform |
| No Scratch Audio | Can work without | Requires reference | Requires reference |
| Batch Processing | Yes | Limited | Yes |
| Cost | $299 | Included | Free version available |
The On-Set Mistake That Makes Automated Syncing Impossible
You can have the most expensive software and the most powerful computer, but one simple on-set mistake can render all automated syncing tools useless: using a variable frame rate (VFR). This is the single most common and destructive error for post-production workflows, and it frequently happens when using non-professional recording devices like smartphones or screen recording software.
A professional camera records at a constant frame rate (CFR), like 24, 29.97, or 30 frames per second. The timing of each frame is precise and unwavering. VFR, on the other hand, is a compression technique where the device changes the frame rate on the fly to save file size. When the on-screen action is static, it might drop to 15 fps; when there’s a lot of motion, it might jump to 30 fps. While this is efficient for playback, it’s a disaster for editing. Your NLE expects a consistent, predictable number of frames every second to build its timeline. When it encounters a VFR file, it gets confused and often misinterprets the file’s duration, causing the audio to drift out of sync.
The insidious nature of VFR is that automated sync tools, which rely on a stable time-to-frame relationship, simply cannot function correctly. As reported frequently in Adobe Community forums, most persistent sync drift issues are ultimately traced back to VFR footage. Before you even begin editing, it is absolutely critical to inspect all your files. If you find a VFR file, you must convert it to a constant frame rate using a tool like HandBrake or Adobe Media Encoder *before* importing it into your project. Skipping this step will condemn you to hours of manual, frustrating adjustments.
Critical On-Set Checklist to Prevent Sync Nightmares
- Always Record Scratch Audio: Ensure every single camera records an internal reference audio track, even if it’s low quality. This is the data that waveform sync relies on.
- Set a Universal Frame Rate: Before the shoot, decide on a frame rate (e.g., 29.97 fps) and set all devices to match. Mixing frame rates is another major cause of post-production headaches.
- Avoid VFR at All Costs: If using a smartphone, use an app like FiLMiC Pro that allows you to lock the recording to a constant frame rate.
- Record Continuously: On long interviews, try to keep all devices rolling continuously instead of starting and stopping. This creates fewer, more manageable clips to sync.
- Use Head and Tail Slates: Create a sharp visual and audio sync point (a clap or slate) at both the beginning and the very end of a long recording. This helps diagnose drift.
How to Use a Slate Correctly to Save Hours in Post-Production?
In the age of automated digital workflows, the humble clapperboard, or slate, might seem like an anachronism. But it remains one of the most reliable and powerful tools in a filmmaker’s arsenal, serving as a non-digital, foolproof backup that can save you when technology fails. Its purpose is twofold: to provide a clear visual reference for organizing clips and, more importantly, to create a single, sharp moment in time—a visual and audible spike—that you can use to manually sync your audio and video.
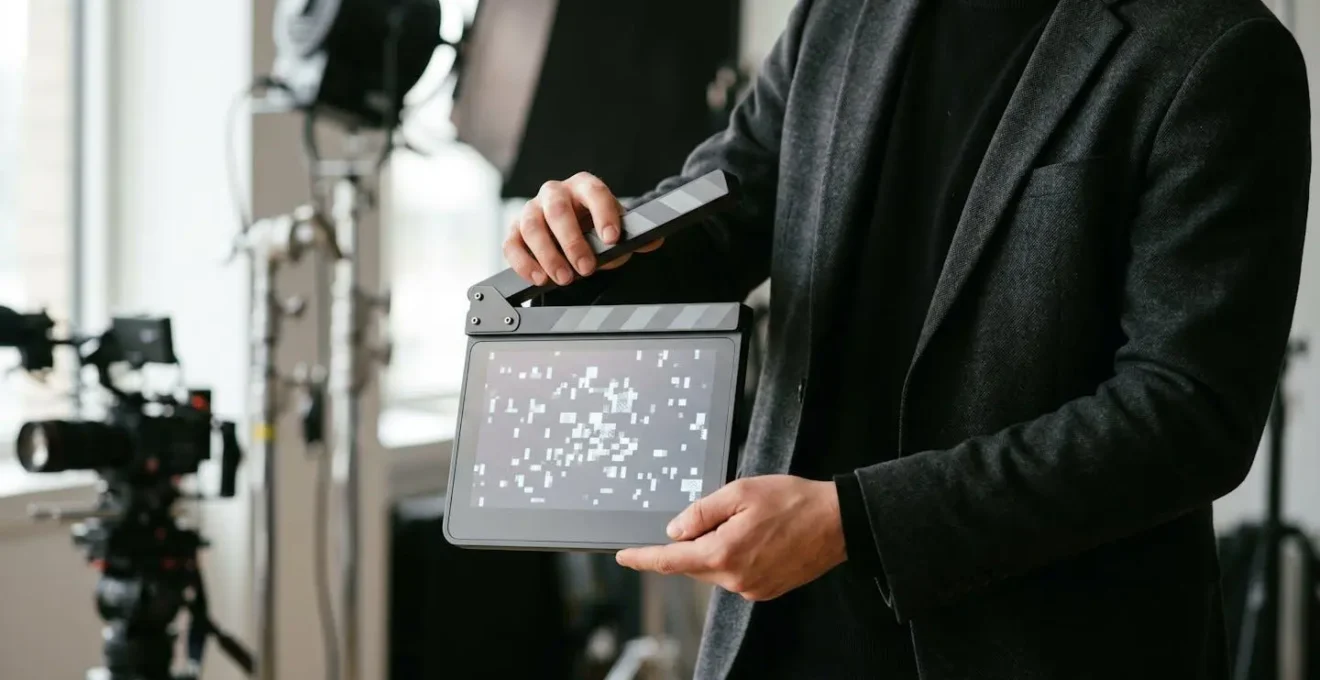
Using a slate correctly goes beyond just clapping it in front of the camera. For long-form interviews, a professional technique is to use both a head slate (at the beginning) and a tail slate (at the end). To perform a tail slate, you hold the slate upside down at the end of the take, announce « tail slate, » and clap. This provides two precise sync points across your entire recording. If the clips are in sync at the head slate but out of sync at the tail slate, you instantly know you have a drift problem and can calculate the exact amount of drift to correct for.
Furthermore, the information written on the slate (scene, take, roll number) is invaluable metadata. When you have dozens of files from multiple cameras and recorders, this information helps the editor quickly identify which files belong together. Even without a physical slate, you can perform a « vocal slate » by clearly stating the scene and take number on camera while creating a sharp hand clap. This single, sharp transient on the audio waveform is much easier for software (and humans) to lock onto than ambiguous dialogue.
This image depicts a professional holding a modern digital slate, poised for the clap. This action creates the essential audio-visual reference point that is the foundation of manual synchronization and a crucial backup for any automated system.
Professional Slating Techniques for Flawless Sync
- Use Tail Slates: For documentary or unscripted interviews where the action might start unpredictably, record a tail slate at the end to ensure you have a clean sync point.
- Create a Sharp Audio Spike: The sync sound should be a « clap, » not a « thud. » Start with your hands fully apart and bring them together quickly to create a sharp transient in the waveform.
- Use Smart Slate Apps: If a professional slate is out of budget, iPad apps can display running timecode, acting as an affordable and effective smart slate alternative.
- Mark Mid-Roll Sync Points: During natural breaks in a very long interview (e.g., changing a memory card), it can be useful to re-slate to create mid-roll sync markers, making it easier to align segments later.
How to Remove a Siren from Dialogue Using Spectral Editing?
Sometimes, even with perfect sync, the audio itself is compromised by unwanted noise. A passing siren, a ringing phone, or a persistent hum can ruin an otherwise perfect take. Traditional noise reduction filters often fail here because they process the entire audio clip, which can degrade the quality of the dialogue, leaving it sounding muffled or « underwater. » The surgical solution to this problem is spectral editing.
Software like Adobe Audition, iZotope RX, and DaVinci Resolve’s Fairlight page include a Spectral Frequency Display. This tool visualizes your audio not just as a waveform (amplitude over time) but as a spectrogram, showing frequency content over time. In this view, different sounds create unique visual signatures. Dialogue appears as a dense, complex texture in the mid-range frequencies, while a siren will appear as a series of bright, clear horizontal lines that rise and fall in pitch. The fundamental frequency of the siren and its harmonics (multiples of the fundamental frequency) will be clearly visible.
The process is like a « photoshop for audio. » You use a lasso or brush tool directly on the spectrogram to select only the bright lines corresponding to the siren. You can then delete or attenuate just those selected frequencies at those specific moments in time, leaving the dialogue frequencies completely untouched. As demonstrated by editors like Gerald Undone, the key to a natural-sounding result is to identify and remove not just the main frequency of the noise but its fainter harmonics as well. When done carefully, this technique allows you to surgically remove invasive sounds without affecting the clarity or tone of the speaker’s voice, performing a rescue operation that would be impossible with conventional tools.
When to Start Mixing Audio: Before or After Colour Grading?
In a post-production workflow, timing is everything. A common question for editors juggling multiple tasks is: when should the serious audio work—mixing, sound design, and dialogue cleanup—begin? Should you wait for a « picture lock » after all the color grading is done, or can you start earlier? The answer depends heavily on the project type and your team’s resources, but modern workflows increasingly favor a parallel approach.
The traditional model dictated that audio post-production began only after the picture was 100% locked. This prevented audio engineers from wasting time mixing scenes that might be re-cut or re-timed. However, this linear process can create bottlenecks, especially with tight deadlines. Today, with the use of proxies and robust round-tripping features (like AAF or XML exports), it’s highly efficient to work in parallel. Once a rough cut is approved, the audio team can begin dialogue editing and sound design while the colorist works on the grade. As the Creative COW community of professional editors suggests, this flexibility is a major advantage, allowing parallel audio and color work to shorten overall project timelines.
For most long-form content like documentaries or corporate videos, the most efficient workflow is to have audio and color begin work simultaneously after the offline edit (the rough cut) is approved. For narrative films, where color grading is integral to setting the mood, the colorist might do an initial pass before the sound designer begins. Conversely, for content like social media clips or corporate videos where dialogue clarity is the absolute priority, the audio mix should be tackled first. The key is communication. As long as the picture editor, colorist, and sound mixer are in constant communication about any changes to the edit, a parallel workflow can dramatically accelerate project delivery without compromising quality.
Key Takeaways
- Audio drift is a math problem, not a glitch. Fix it by standardizing to 48kHz audio and a constant frame rate across all devices.
- Timecode is the only 100% reliable method for preventing drift in multi-device setups. It’s a non-negotiable for professional long-form content.
- If you encounter Variable Frame Rate (VFR) footage, you MUST convert it to a Constant Frame Rate (CFR) before you begin editing to avoid unsolvable sync issues.
How to Mix Dialogue and Music So Voices Cut Through on Mobile Speakers?
You’ve fixed your sync, cleaned your dialogue, and timed your edit perfectly. But there’s one final hurdle: ensuring your mix sounds great not just in your studio headphones, but on the tiny, mono speakers of a mobile phone where most content is consumed today. A mix that sounds balanced and powerful on studio monitors can easily turn into an unintelligible mess on a phone, with the music completely swallowing the dialogue.
The key to a mobile-first mix is to control the mid-range frequencies. Human speech intelligibility lives primarily in the 2kHz to 5kHz range. Mobile phone speakers are physically incapable of reproducing deep bass or sparkling high-end frequencies, so they naturally emphasize this mid-range. To make your dialogue cut through, you need to work within these limitations.
First, use an equalizer to apply a gentle boost to the dialogue track between 2-5kHz. This will enhance its presence and clarity on small speakers. Second, and more importantly, use a corresponding EQ cut on the music track in that same 2-5kHz range. This technique, known as creating a « frequency pocket, » carves out a space in the mix for the dialogue to sit in without competition. It’s far more transparent than simply turning the music down. Additionally, using a dynamic EQ or a sidechain compressor to « duck » the music’s mid-range frequencies whenever someone speaks can create an even cleaner, more professional result. Finally, always, always check your mix in mono and test it on an actual mobile device before exporting. What sounds good in stereo can sometimes create phase issues that weaken the mix when collapsed to mono.
Mobile-First Audio Mixing Checklist
- Boost dialogue presence frequencies between 2-5kHz for mobile clarity.
- Create a frequency « pocket » in the music by cutting the same 2-5kHz range.
- Always check your final mix in mono to spot phasing issues.
- Use a dynamic EQ for transparent ducking of music under dialogue.
- Apply a high-pass filter to dialogue at 80-100Hz to remove low-end rumble that mobile speakers can’t reproduce anyway.
- Keep dialogue levels a consistent 6-10dB above the music bed for optimal intelligibility.
By moving from a reactive to a preventative mindset, you can conquer audio drift. It requires discipline on set and a deep understanding of the technical principles at play, but the result is a clean, efficient post-production workflow and an end product free from distracting sync issues. Mastering these concepts separates the amateur from the professional troubleshooter. Now, you have the tools to diagnose the problem at its source and implement the correct fix every time. The next logical step is to apply this knowledge to your own workflow, starting with your very next project.
Frequently Asked Questions on How to Fix Drifting Audio Sync in Long Interviews Without Cutting?
What’s the difference between spectral editing and noise reduction?
Spectral editing allows surgical removal of specific frequencies at specific times, while noise reduction applies processing to the entire audio file.
Can I use spectral editing in DaVinci Resolve?
Yes, DaVinci Resolve’s Fairlight page includes Voice Isolation and spectral editing capabilities in recent versions.
Will spectral editing change the tone of dialogue?
When done correctly, targeting only the interference frequencies and their harmonics, dialogue tone remains natural and unaffected.